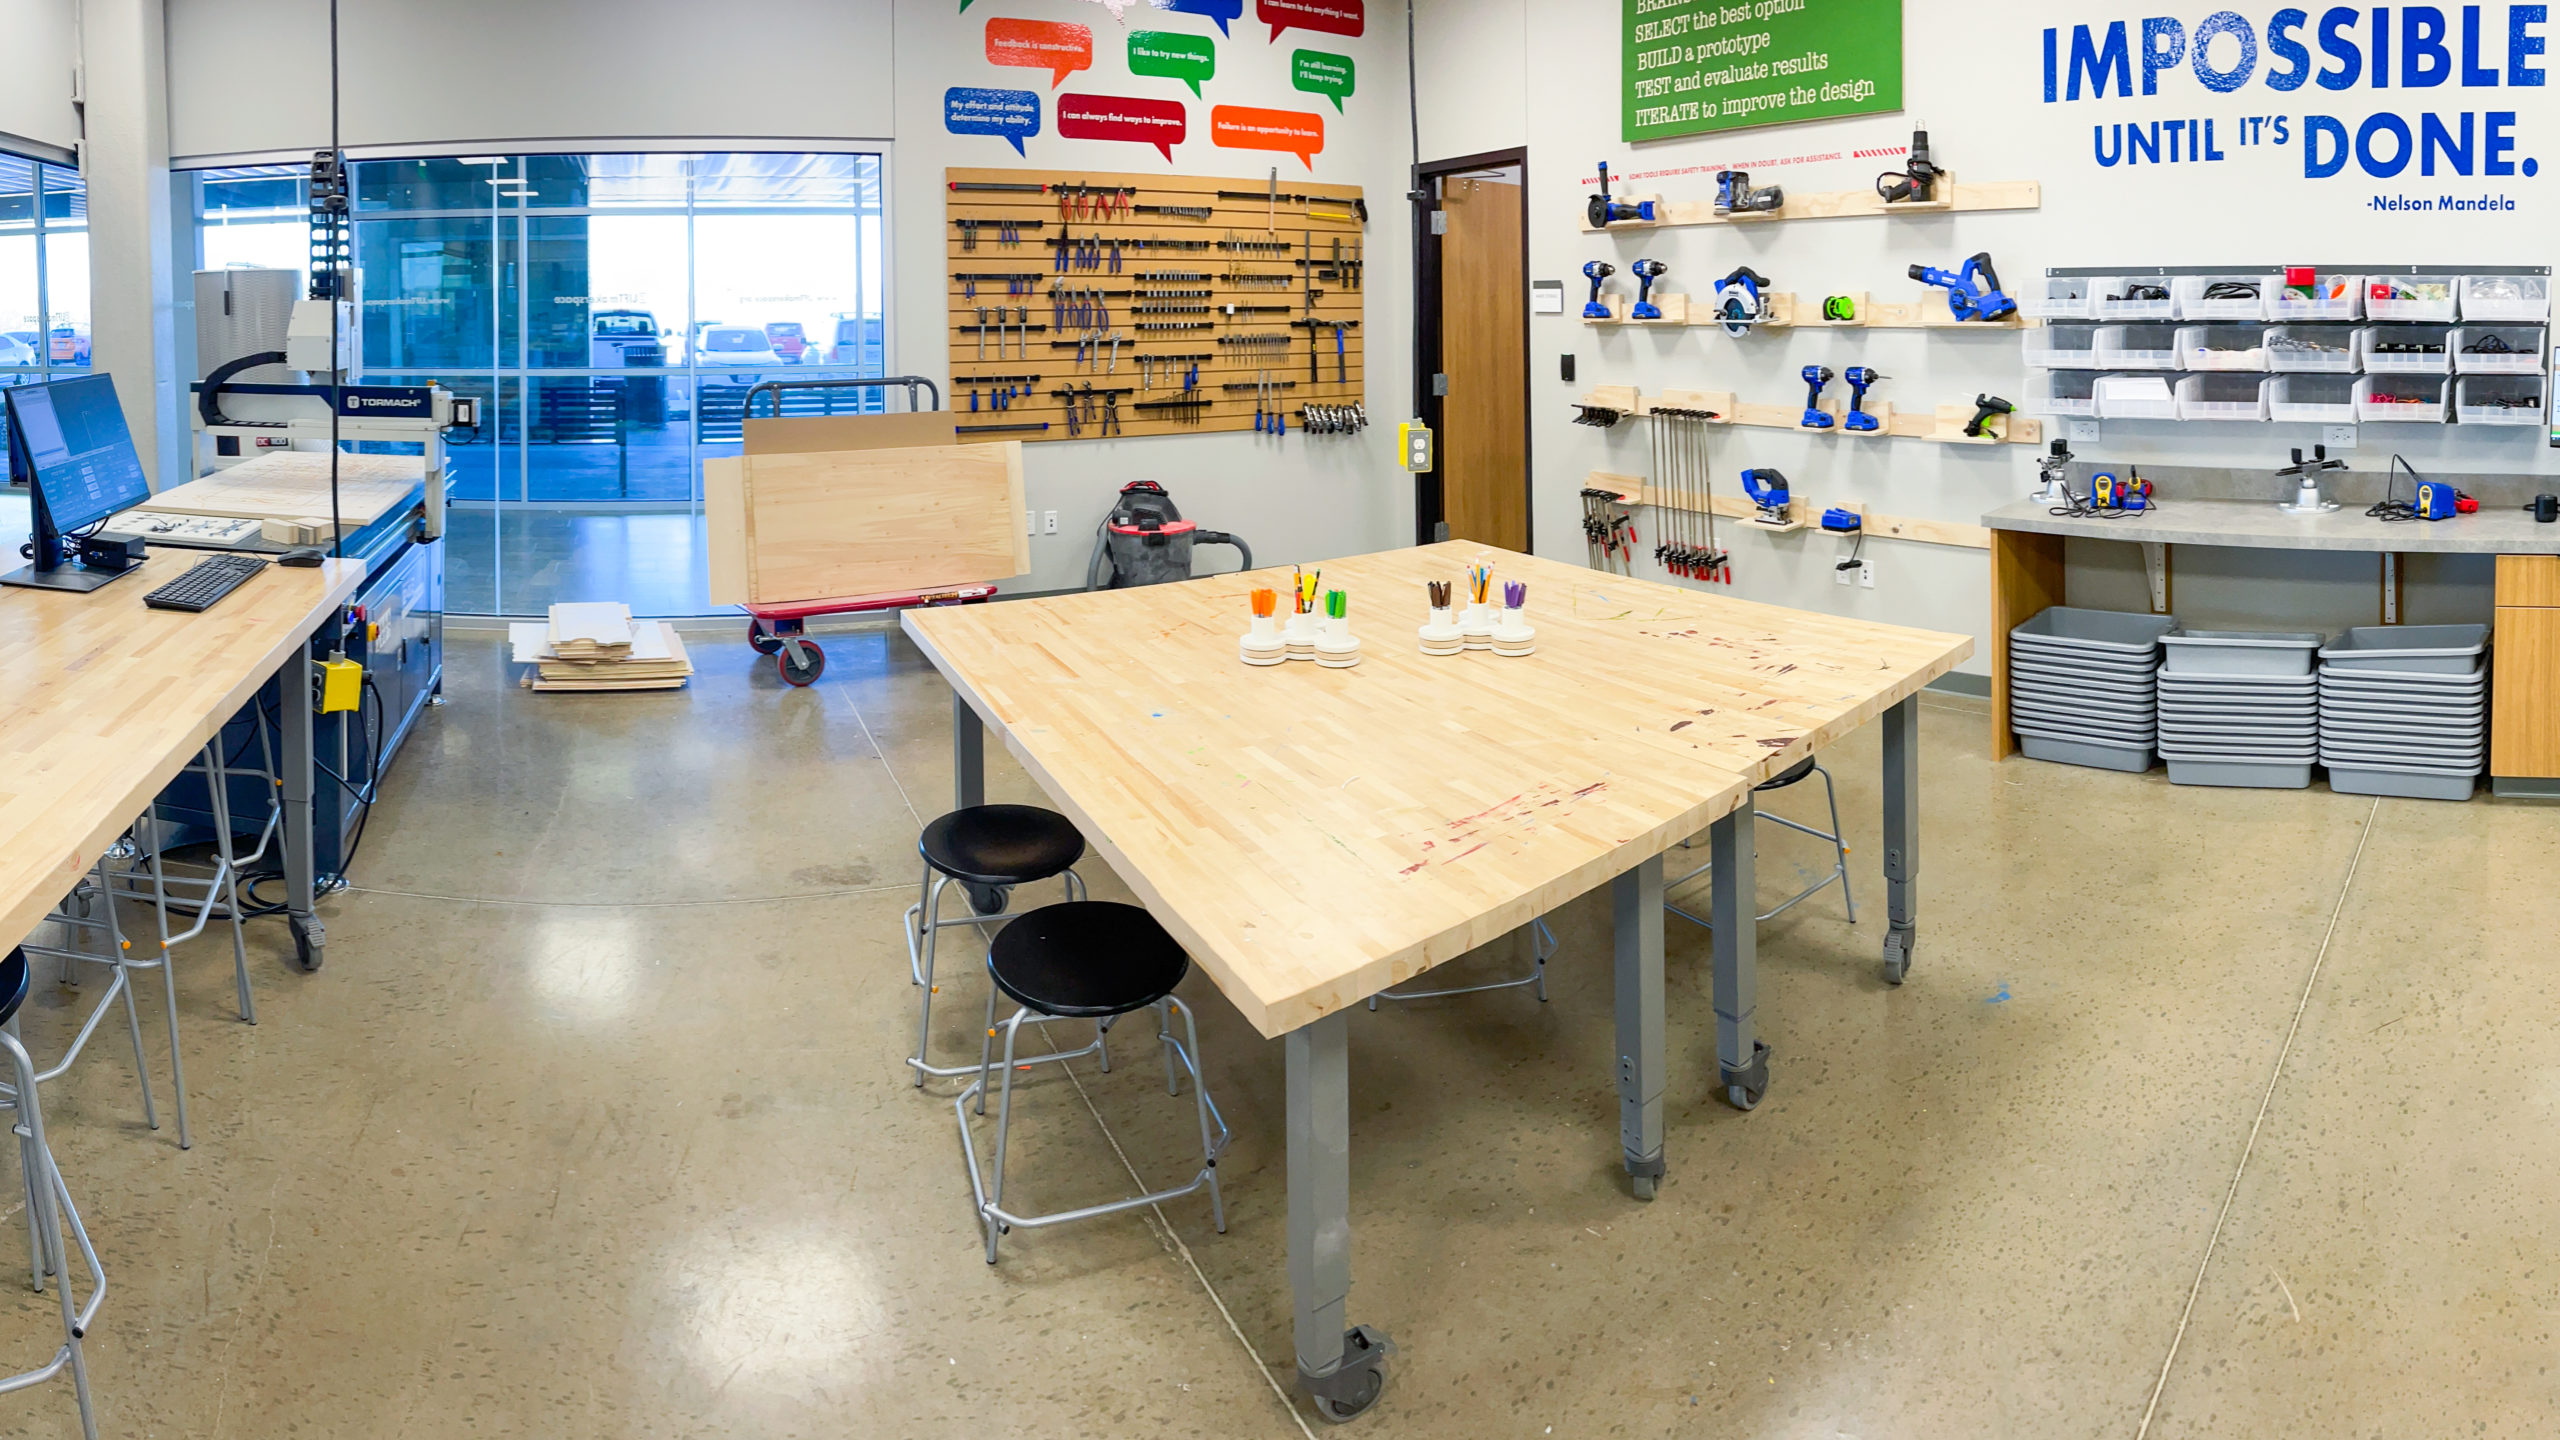
Ultimaker S3 3D Printer
Our 3D printers can print physical 3D parts from spools of filament. Our 3D printers can read and print .STL and .OBJ files. We can print parts from PLA plastic and other materials such as: PETG, TPU, nylon, stainless steel, and carbon fiber. To design 3D parts for printing, you’ll need to use software like OnShape or Tinkercad. To prepare files for 3D printing, we use Ultimaker Cura. To learn more about those programs, scroll down to the lower half of this page.
technical specifications:
- maximum build area: 8.0” x 7.1” x 7.1”
- heated build plate
- dual extrusion nozzles
- swappable print cores
- Ultimaker 3S User Manual
safety certification:
This tool requires a safety certification to use on your own. When you come in for the first time to use this tool, we will take a few minutes to talk with you about safety procedures and will demo proper use. After that, we’ll watch you use it the first few times on your own to make sure you’ve understood instructions and answer any follow-up questions.
Once you’ve got it down and we’re confident you can use the tool safely on your own, we will award you with a safety certification. A safety certification means that you can use this tool on your own without direct supervision.
learning links:
Epilog Fusion Edge 24 CNC Laser
Our CNC laser cuts and etches digital designs on a wide variety of materials using a 50 watt laser. This tool can cut designs out of wood, acrylic, fabric, leather, paper, matboard, and cardboard. It can also etch designs into all of those materials plus glass and some metals. To design 2D vectors for the CNC laser, you’ll need to use software like Adobe Illustrator or VECTR.com. To learn more about those software programs, scroll down to the lower half of this page.
technical specifications:
- maximum material size: 24″ X 24″ X 10″
- maximum cutting thickness: 1/4″
- two camera design positioning
- Fusion Edge User Manual
safety certification:
This tool requires a safety certification to use on your own. When you come in for the first time to use this tool, we will take a few minutes to talk with you about safety procedures and will demo proper use. After that, we’ll watch you use it the first few times on your own to make sure you’ve understood instructions and answer any follow-up questions.
Once you’ve got it down and we’re confident you can use the tool safely on your own, we will award you with a safety certification. A safety certification means that you can use this tool on your own without direct supervision.
learning links:

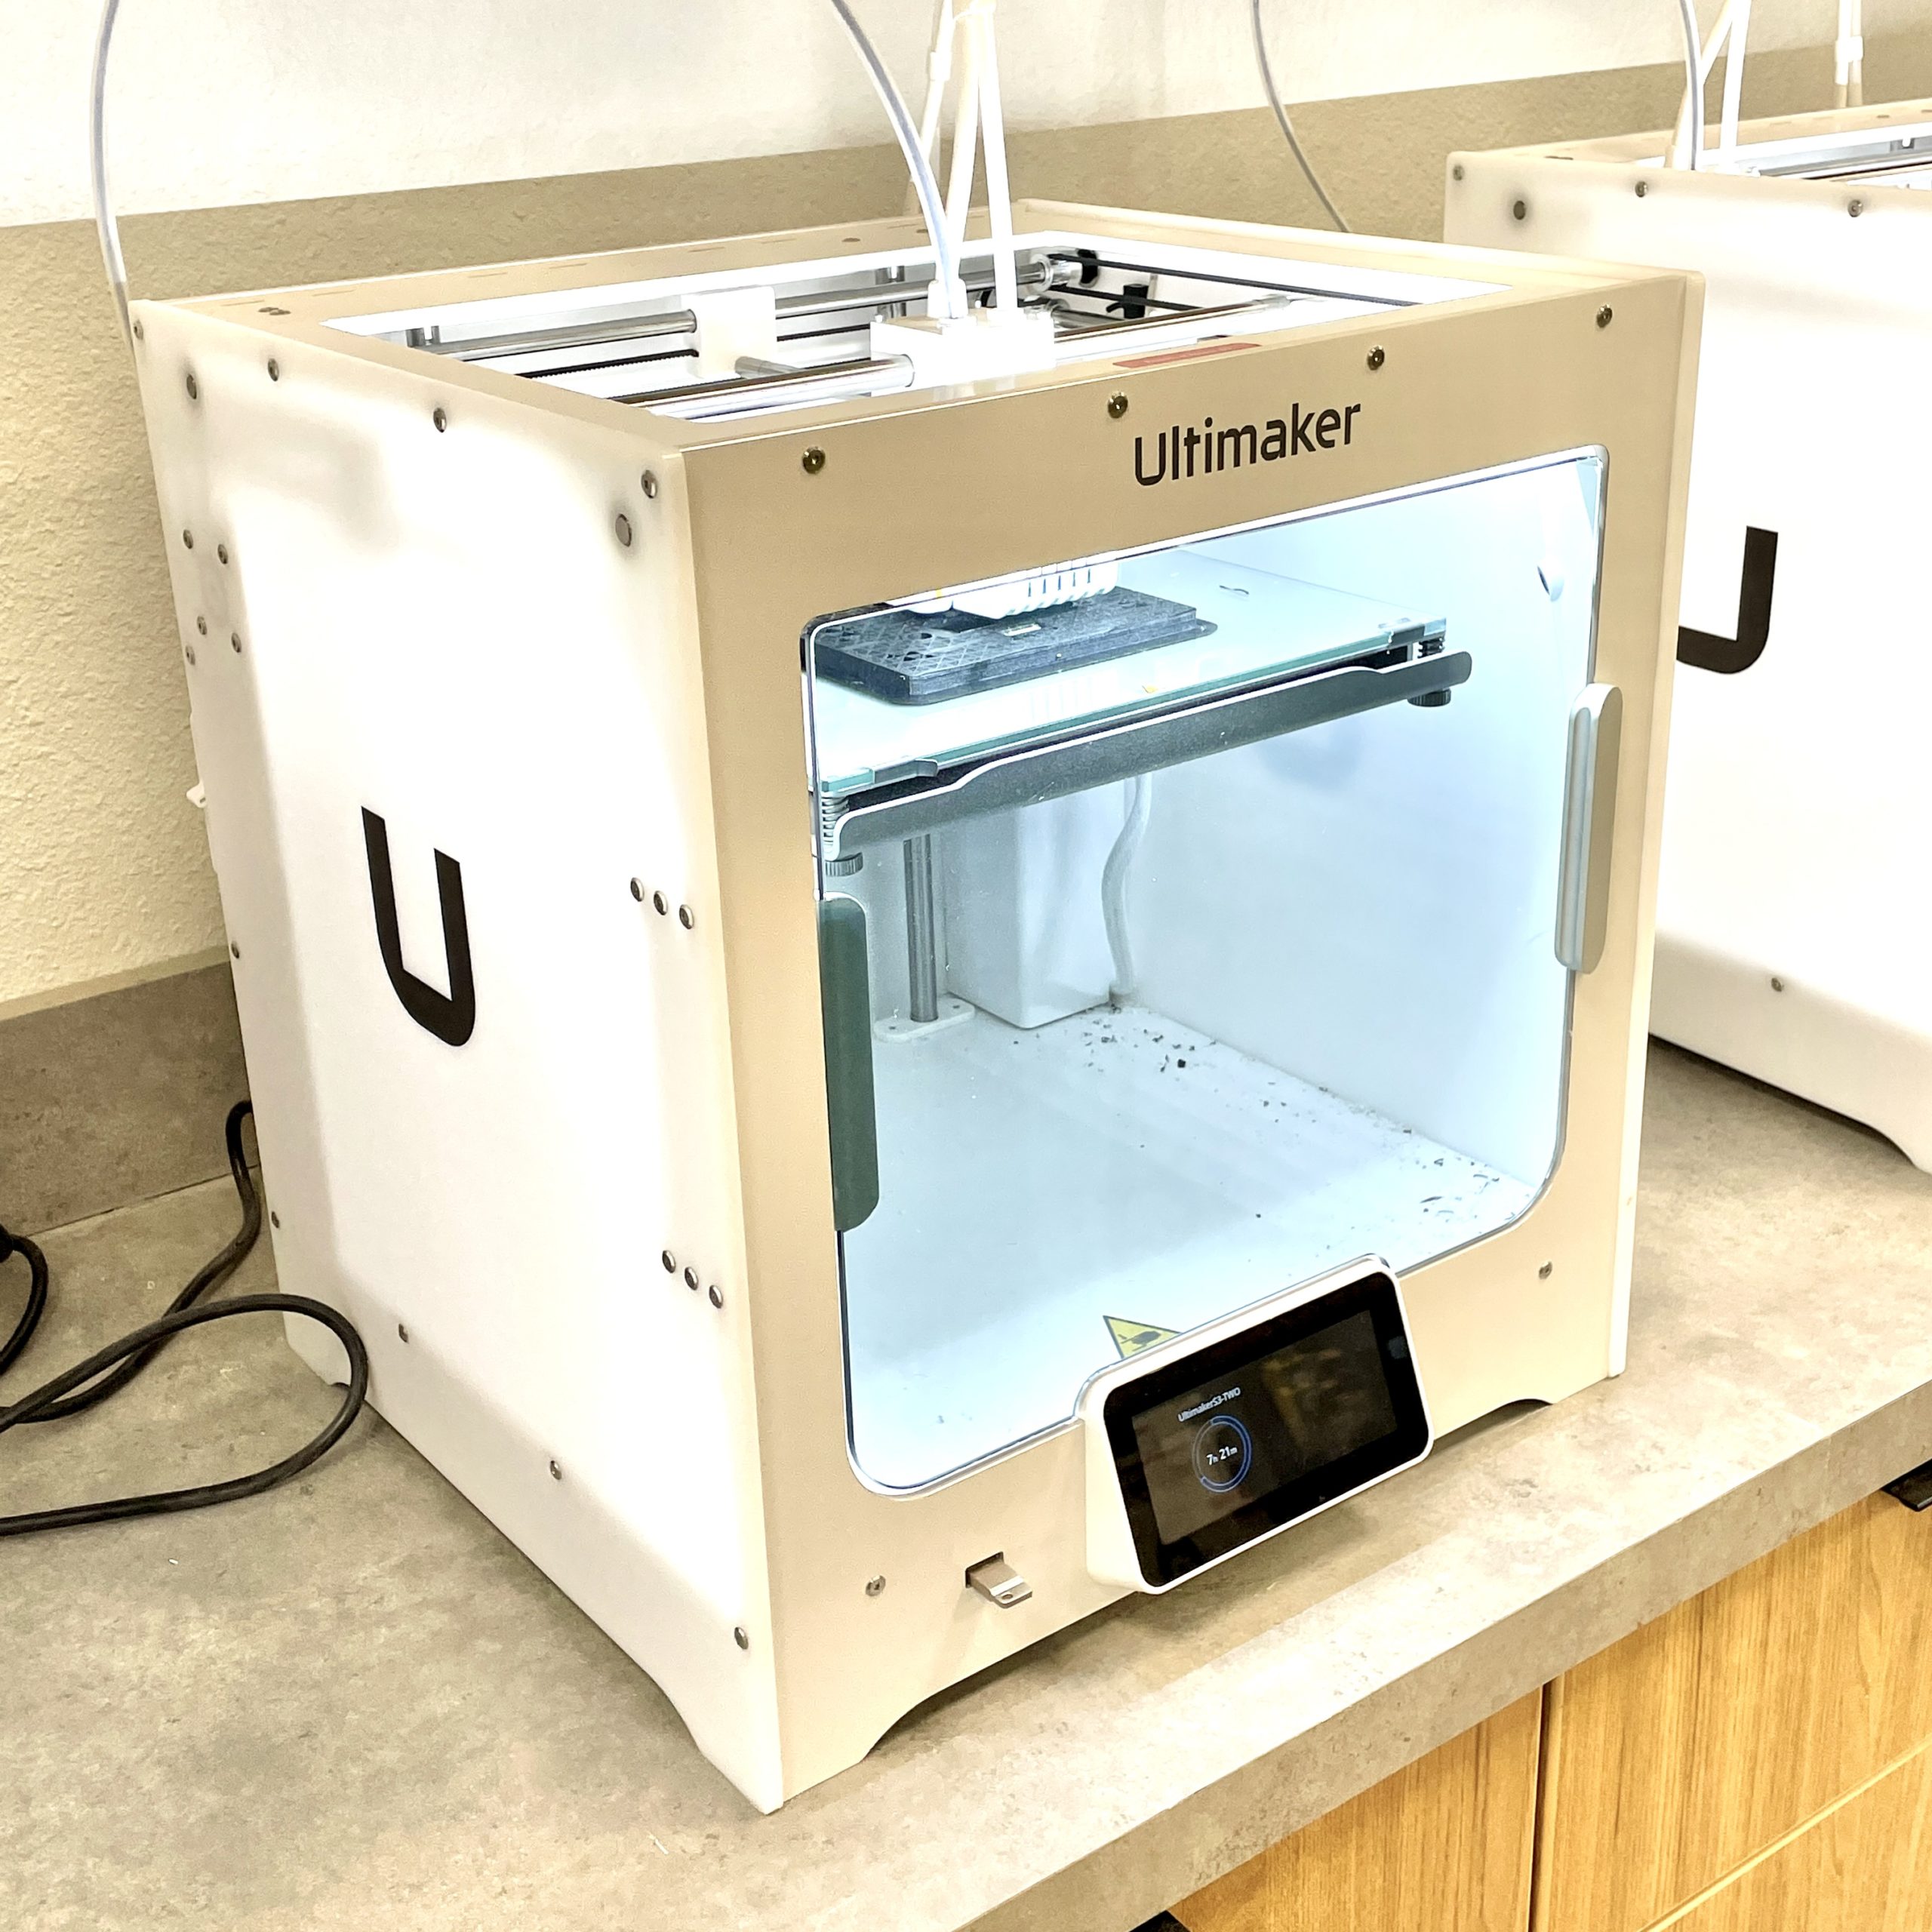
Tormach 24R CNC Router
Our CNC router can cut digital designs using a carbide router bit. The CNC router requires eye protection and heightened safety procedures. This tool is used primary to work with plywood, MDF, plastics, and some metals. To design 2D vectors for the CNC router, you’ll need to use software like Adobe Illustrator or VECTR.com. To prepare files for the CNC router, we use VCarve Pro. To learn more about those programs, scroll down to the lower half of this page.
technical specifications:
- maximum cutting area: 24”x 54” x 6.5”
- maximum cutting speed: 200 in./min
- maximum spindle rotation: 24,000 RPM
- maximum cutting depth: 3/4″
- minimum cutting radius: 1/8″
- Tormach 24R User Manual
safety certification:
This tool requires a safety certification to use on your own. When you come in for the first time to use this tool, we will take a few minutes to talk with you about safety procedures and will demo proper use. After that, we’ll watch you use it the first few times on your own to make sure you’ve understood instructions and answer any follow-up questions.
Once you’ve got it down and we’re confident you can use the tool safely on your own, we will award you with a safety certification. A safety certification means that you can use this tool on your own without direct supervision.
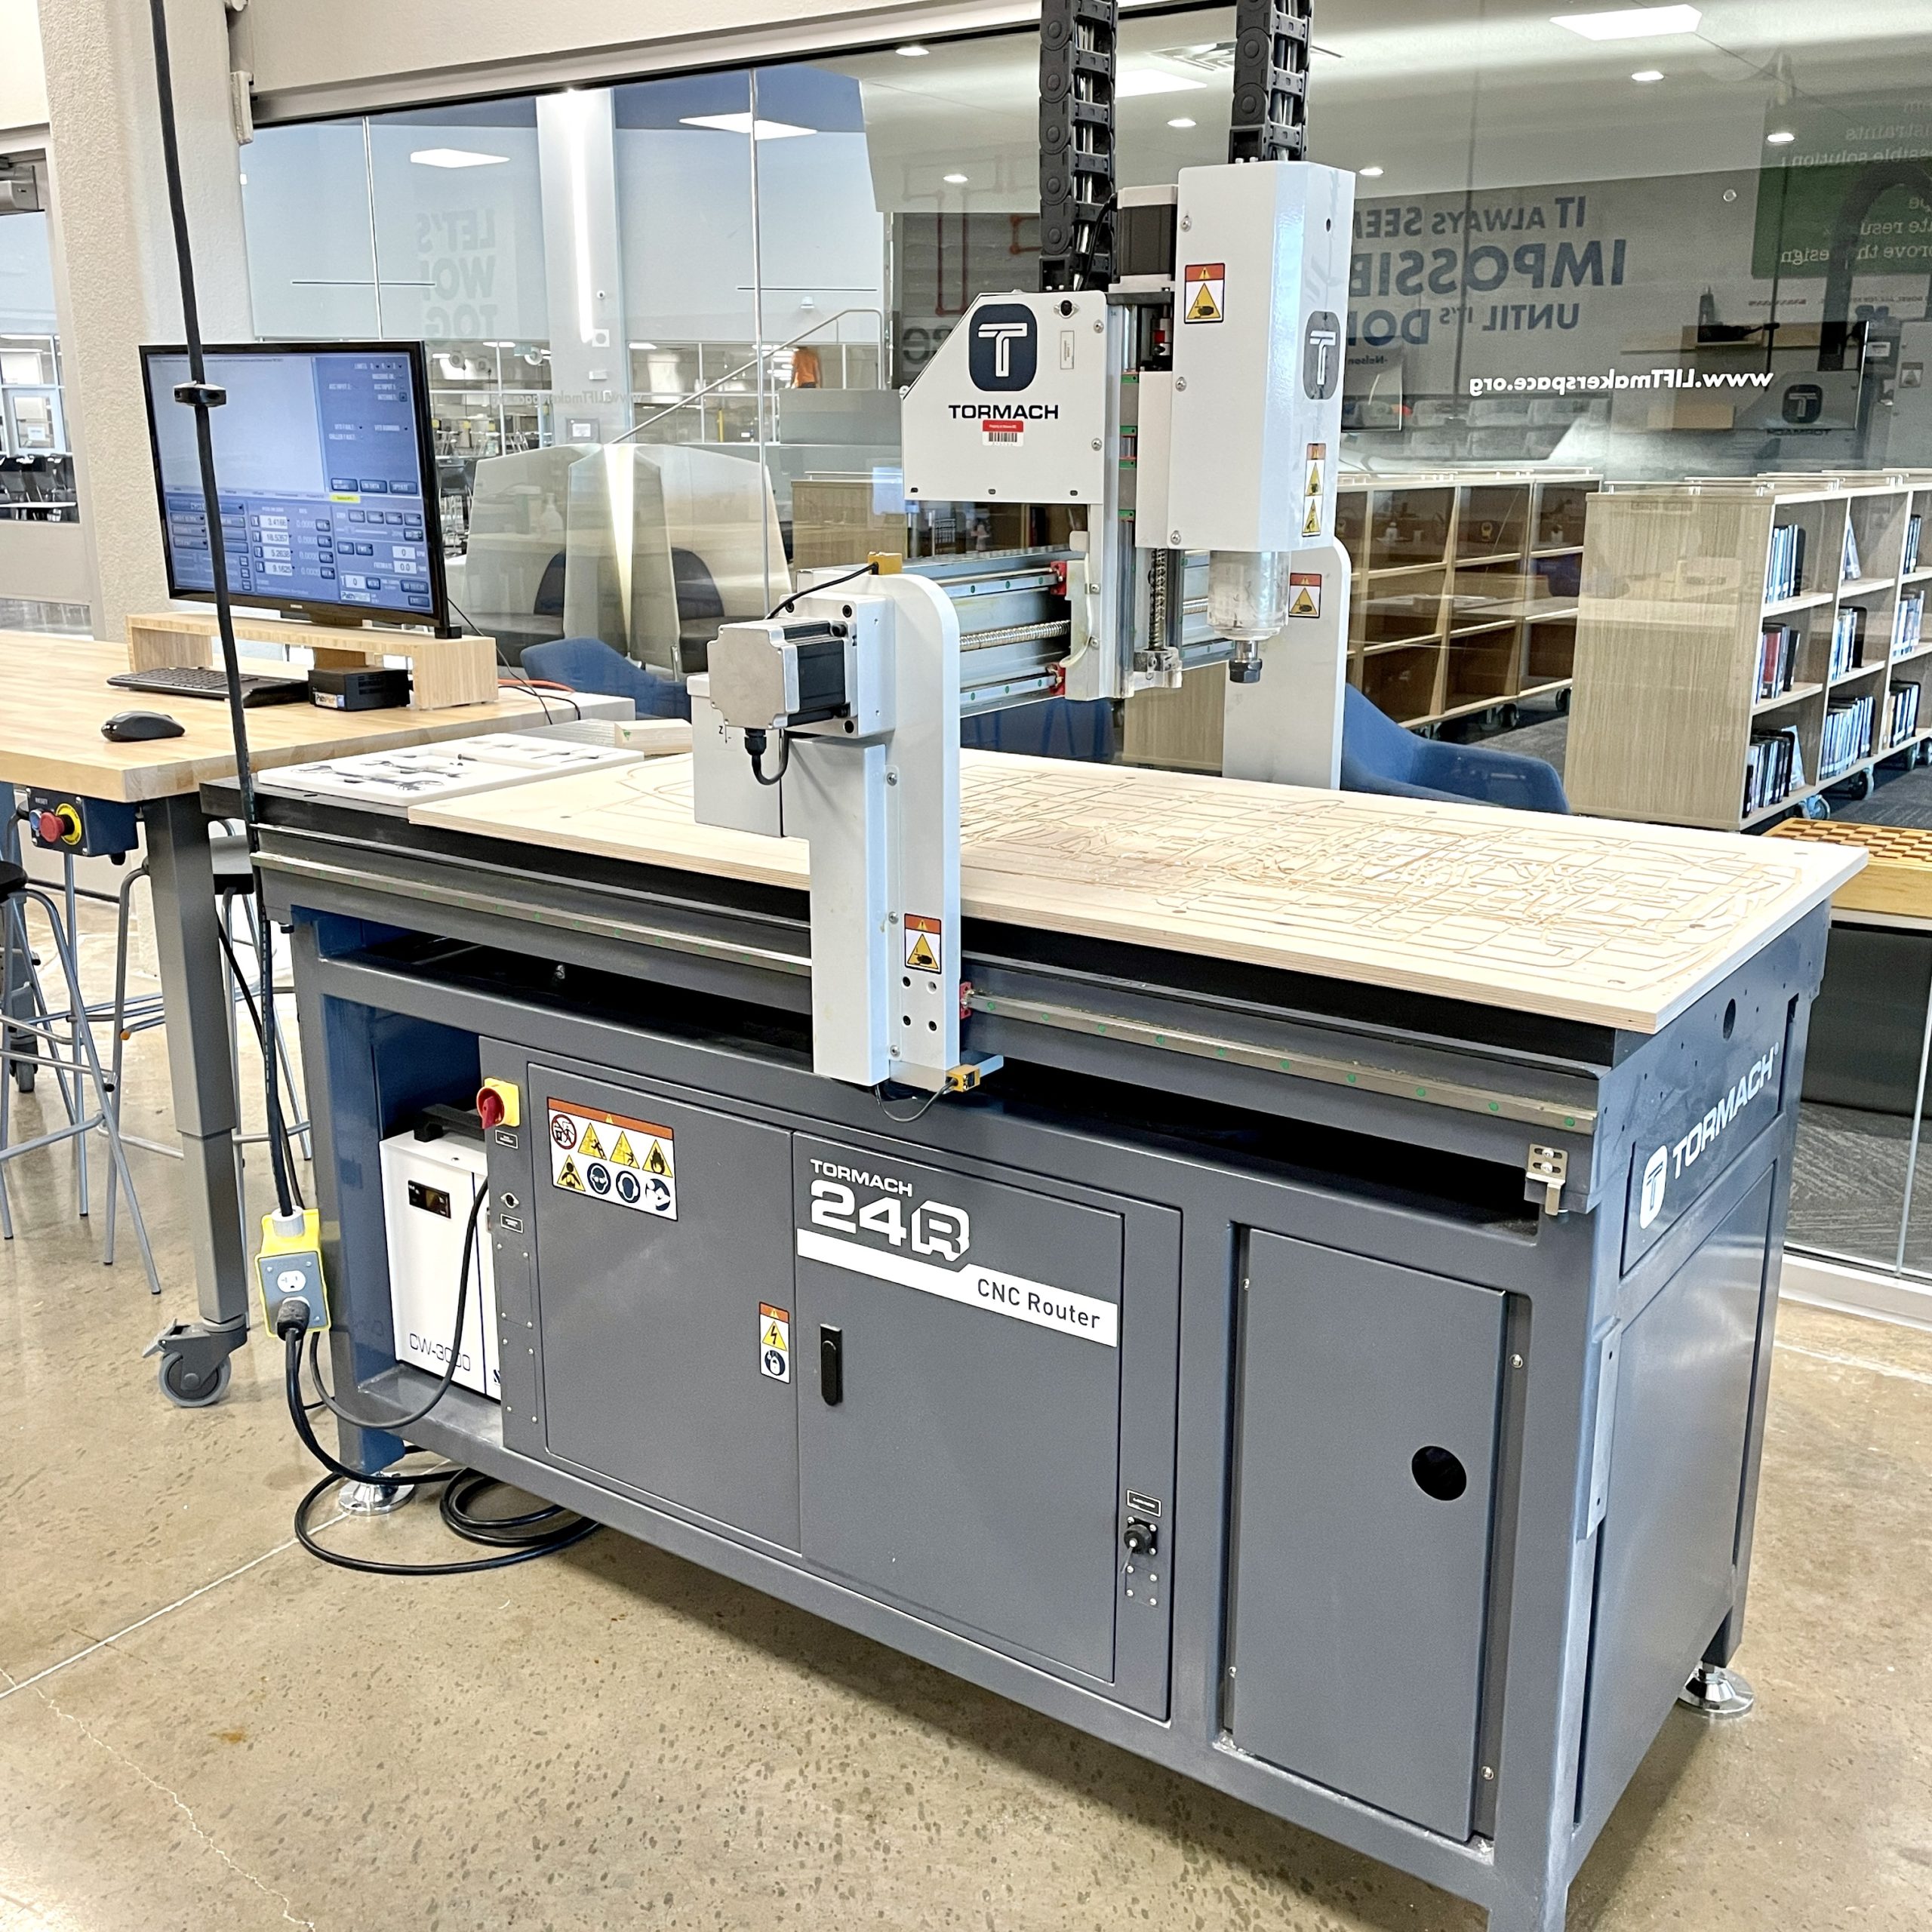
Muse 24 CNC Vinyl Cutter
Our CNC vinyl cutter can cut digital designs from all types of vinyl. Our makerspace keeps both sign vinyl and heat transfer vinyl in stock. Our CNC vinly cutter can cut designs up to 20″ wide. To design 2D vectors for the CNC vinyl cutter, you’ll need to use software like Adobe Illustrator or VECTR.com. To learn more about those programs, scroll down to the lower half of this page.
technical specifications:
- Maximum Media width: 24 inches
- Maximum Cutting width: 24 inches
- Cutting Precision: +/- 0.01 mm
- camera-based automatic registration mark sensing
- Muse 24 User Manual
safety certification:
This tool requires a safety certification to use on your own. When you come in for the first time to use this tool, we will take a few minutes to talk with you about safety procedures and will demo proper use. After that, we’ll watch you use it the first few times on your own to make sure you’ve understood instructions and answer any follow-up questions.
Once you’ve got it down and we’re confident you can use the tool safely on your own, we will award you with a safety certification. A safety certification means that you can use this tool on your own without direct supervision.
learning links:
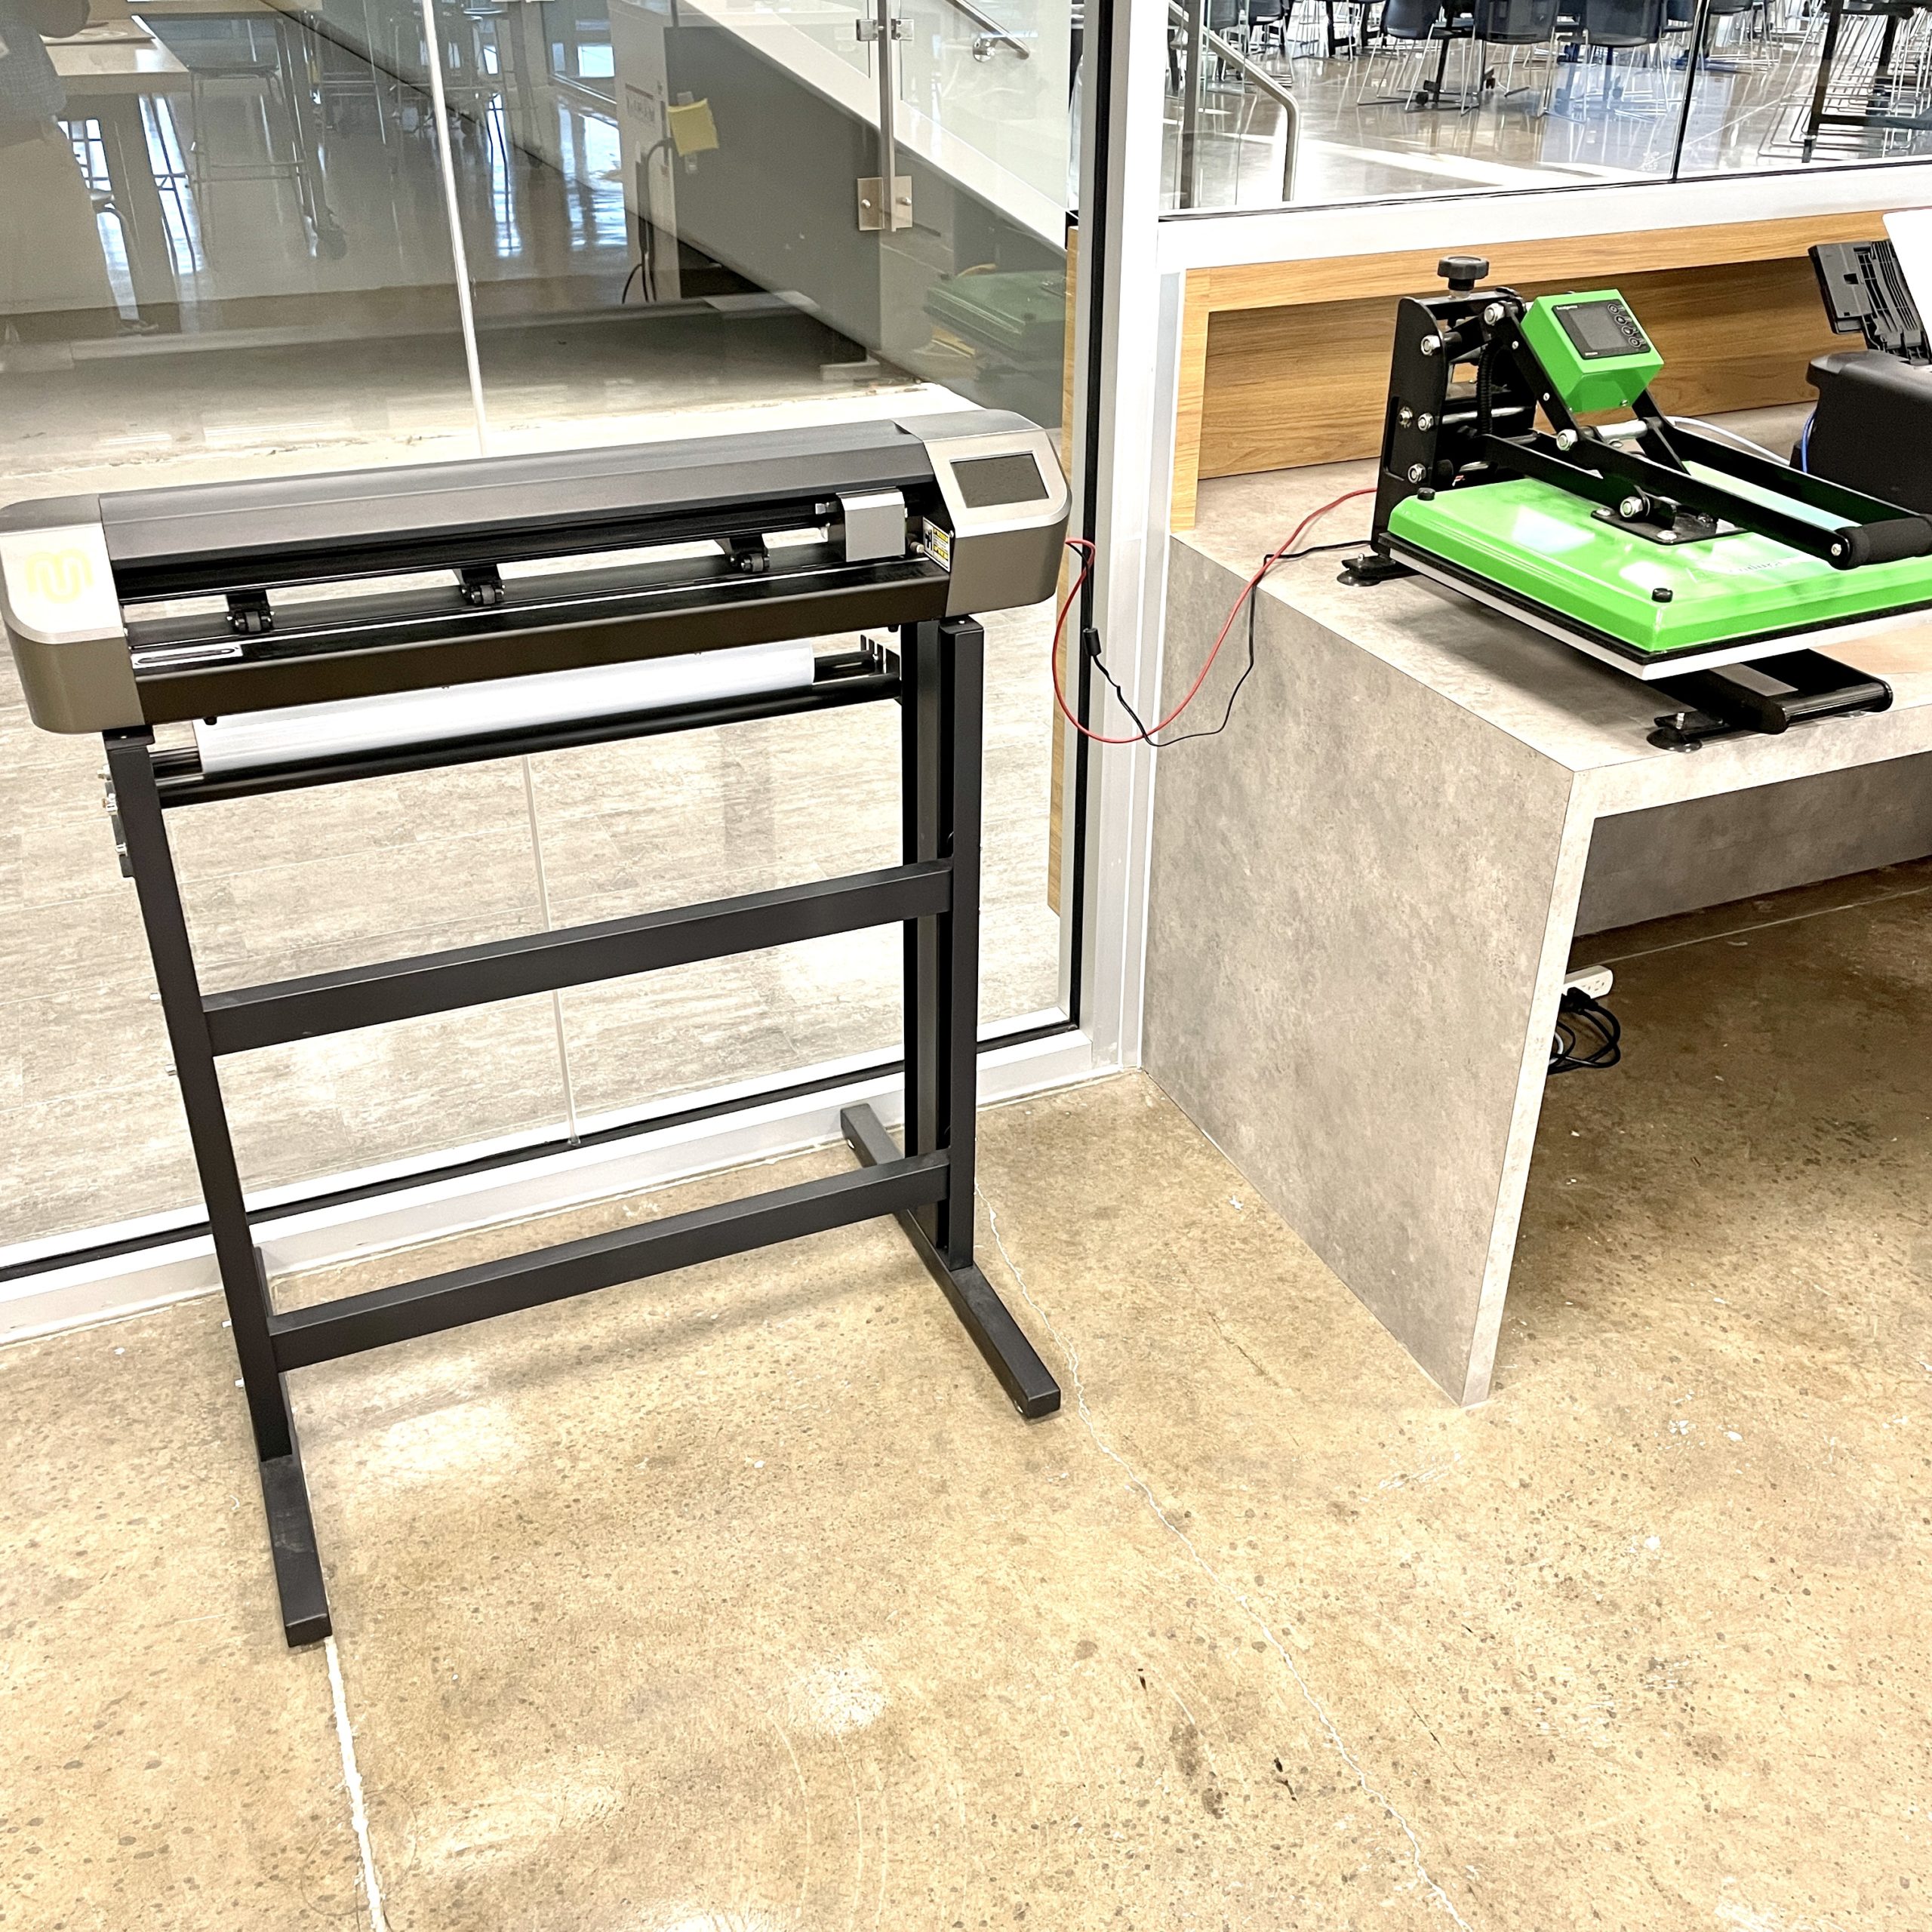
Power Tools
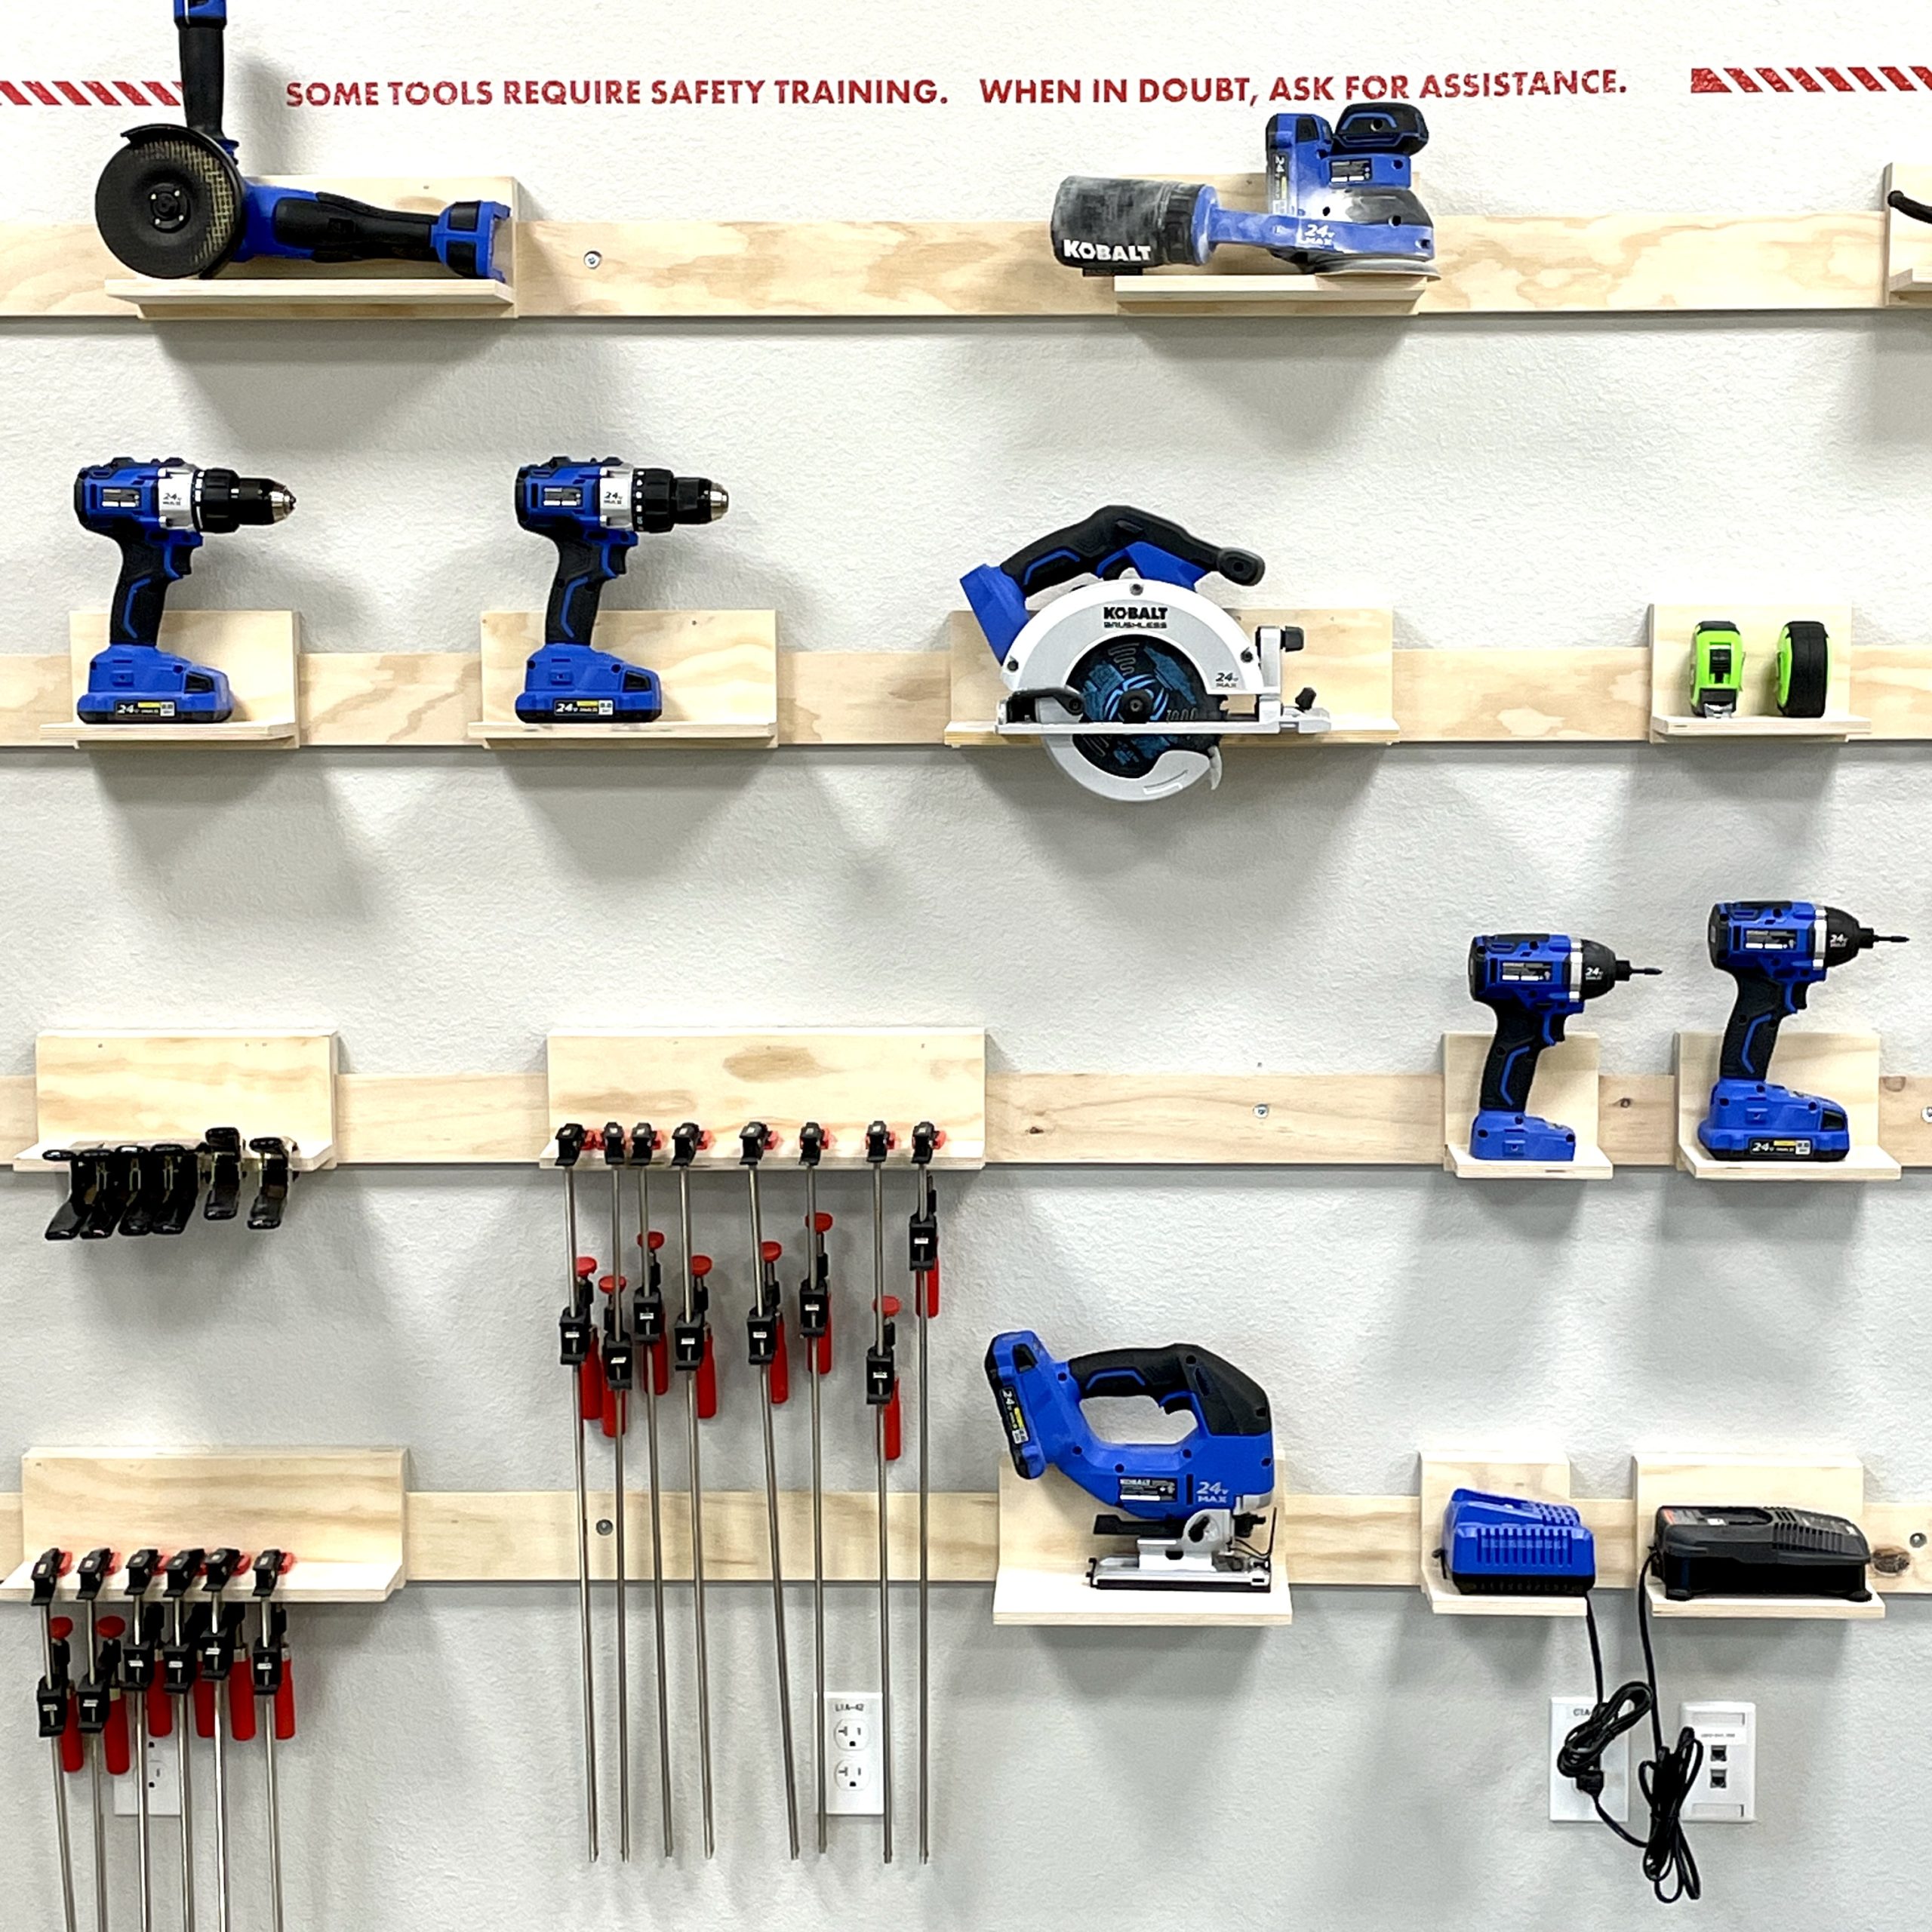
The LIFT Makerspace has a wide variety of handheld power tools for student and teacher use. These tools require eye protection and heightened safety protocols. All makers must receive special training and earn their safety certification before they are able to use these tools on their own. Power tools are NOT allowed to be taken out and used outside of the Makerspace. Click the Tool Inventory link below to see the full list of power tools that are available to use.
tool inventory:
- Kobalt 24v Jigsaw
- Kobalt 24v Angle Grinder/Cuttoff Tool
- Kobalt 24v 6 1/2″ Circular Saw
- Kobalt 24v Random Orbit Sander
- Kobalt 24v 1/4″ Impact Driver
- Kobalt 24v 1/2″ Drill/Driver
- Dremel 4000 Rotary Tool
- RIDGID 12 gallon Wet/Dry Vac
safety certification:
These tools require a safety certification to use on your own. When you come in for the first time to use these tools, we will take a few minutes to talk with you about safety procedures and will demo proper use. After that, we’ll watch you use it the first few times on your own to make sure you’ve understood instructions and answer any follow-up questions.
Once you’ve got it down and we’re confident you can use the tools safely on your own, we will award you with a safety certification. A safety certification means that you can use these tools on your own without direct supervision.
learning links:
Hand Tools
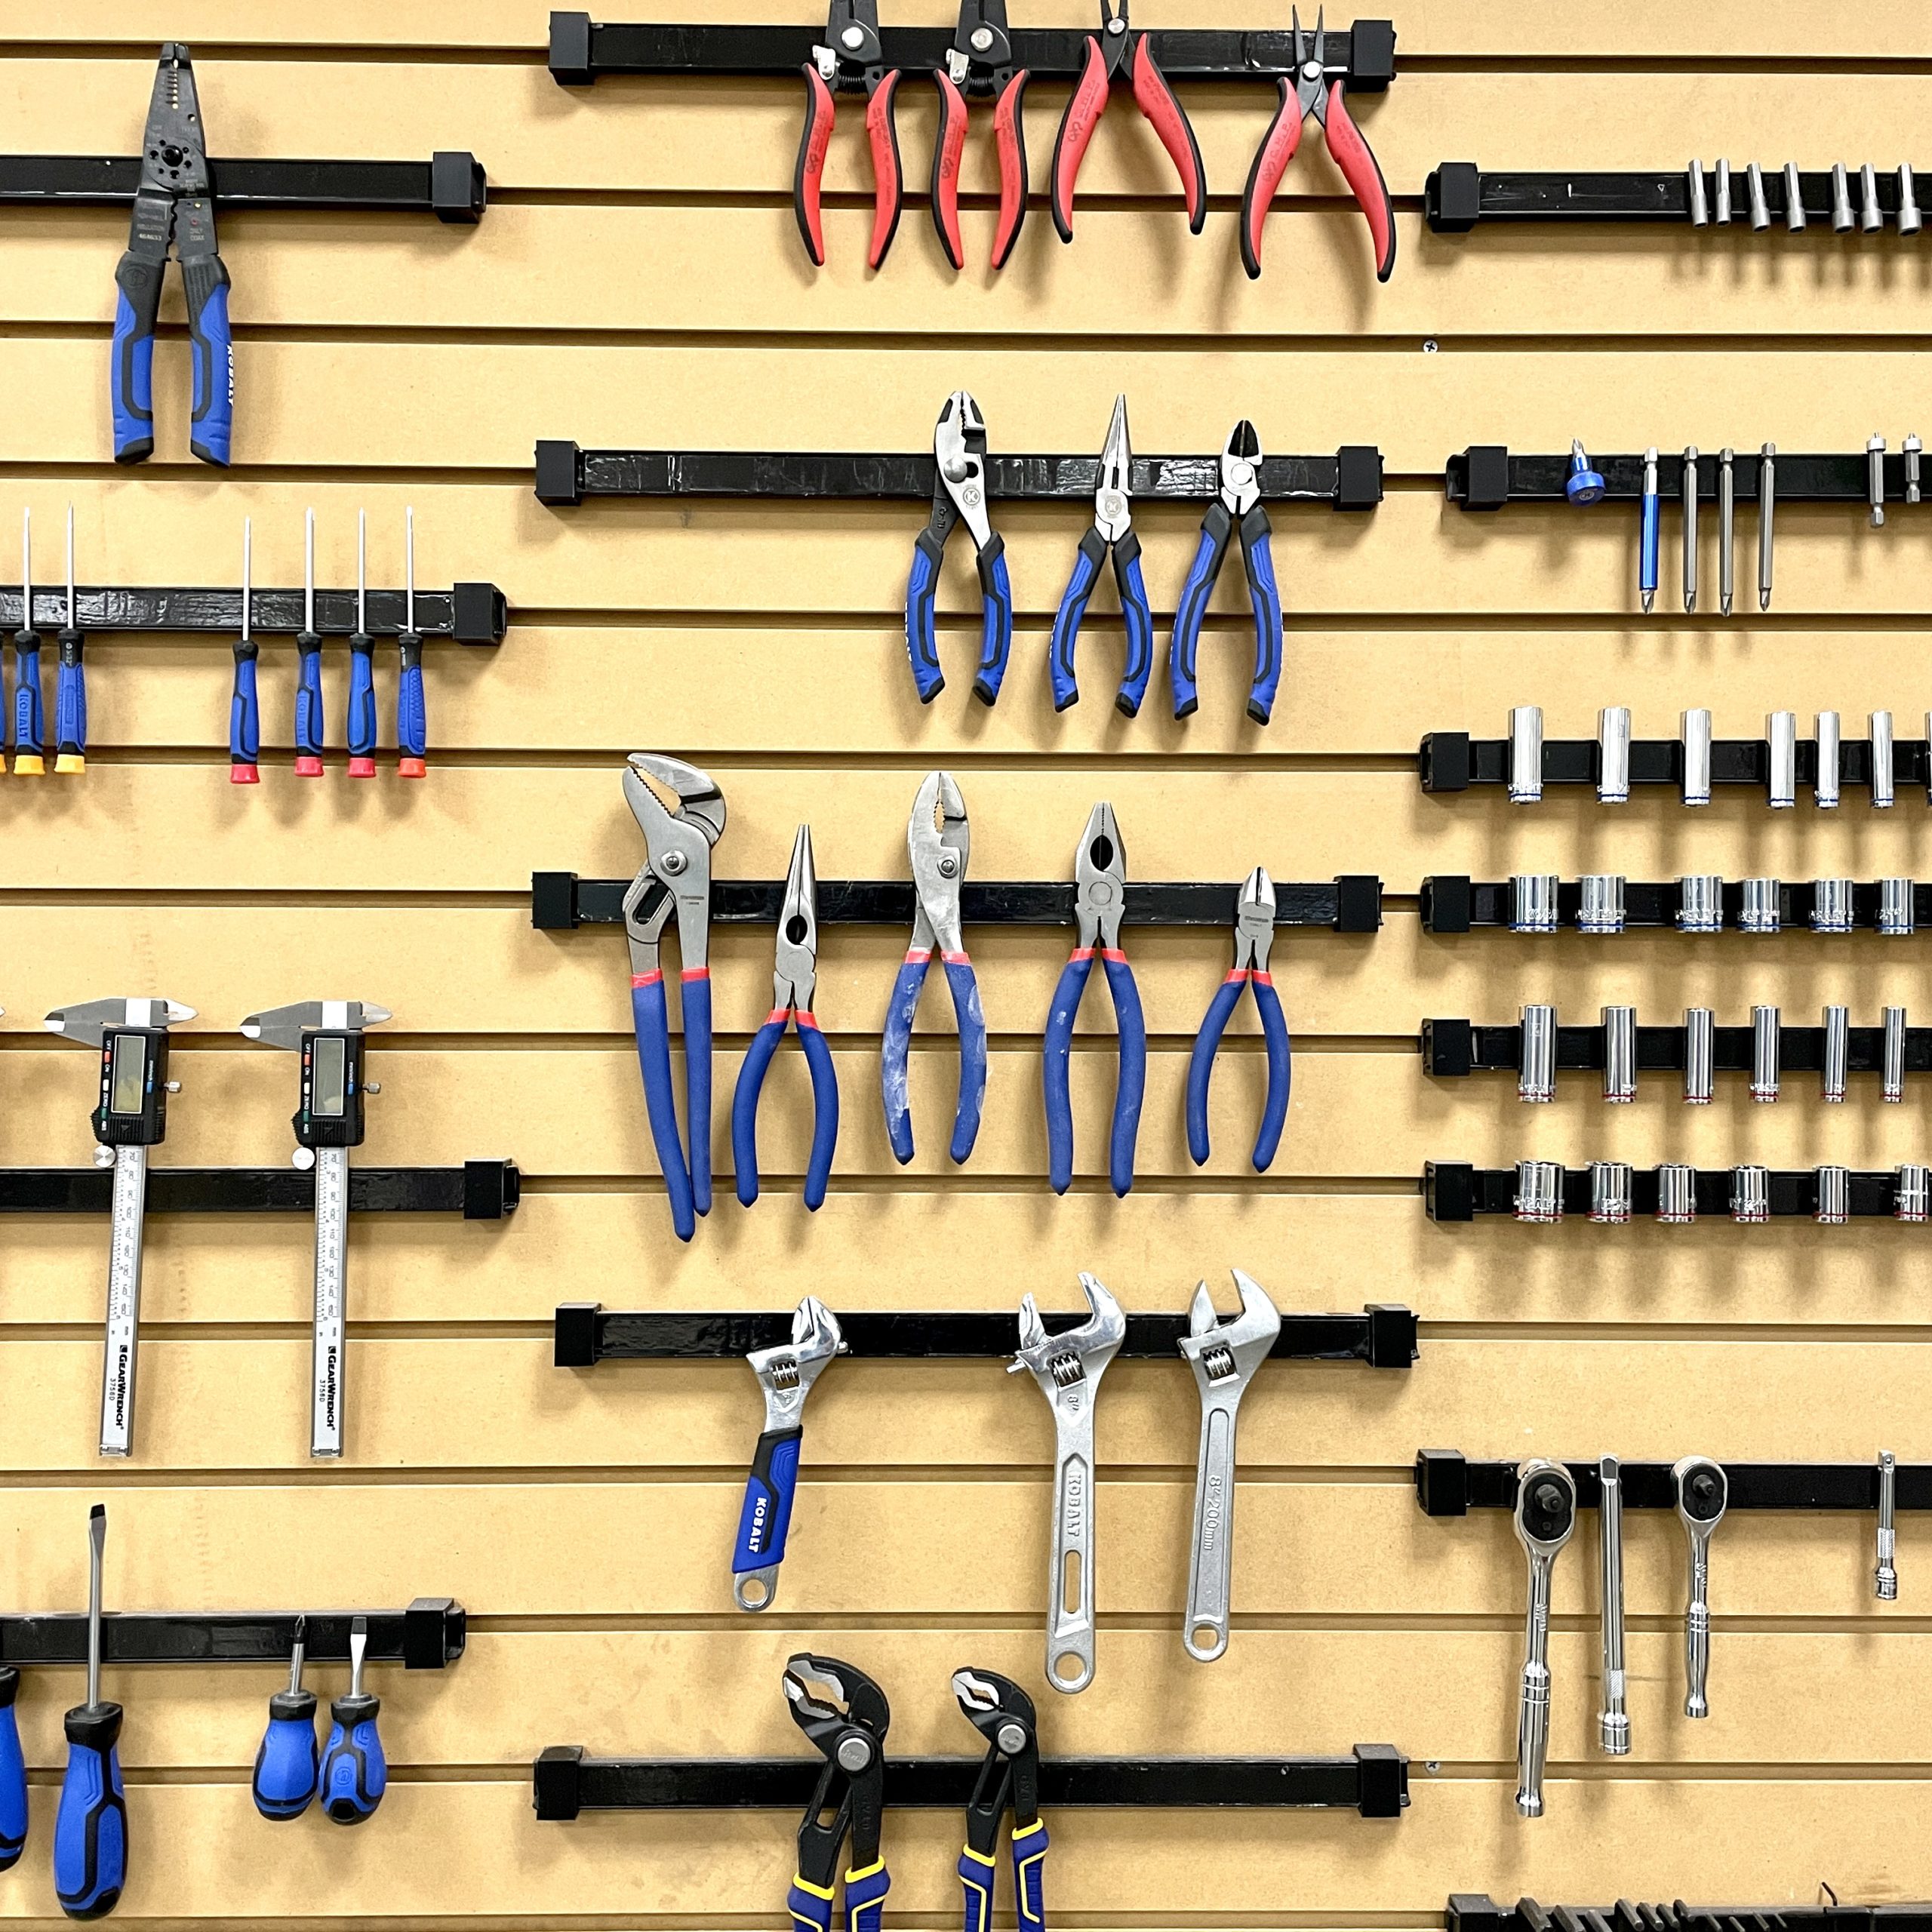
The LIFT Makerspace has a wide variety of hand tools for student and teacher use. While most of these tools are common household tools, we still encourage eye protection and heightened safety protocols. Hand tools are NOT allowed to be taken out and used outside of the Makerspace. Click the Tool Inventory link below to see the full list of hand tools that are available to use.
tool inventory:
- Pliers (8-in long nose, 6-in slip joint and 6-in diagonal)
- Socket Set (SAE and metric )
- Screwdrivers (3 Phillips and 3 flat head)
- putty knife
- wire stripper
- hammer
- tape measure
- Kobalt 5-Pack Assorted Plier Set #55754
- Kobalt retractable utility knife 18mm #59120
- Kobalt 16-oz Smooth Face Steel Head Fiberglass Claw Hammer
- 16-in Combo Square
- Kobalt 22-Key Standard (SAE) and Metric Combination Hex Key Set
- Kobalt 14-Key Standard (SAE) and Metric Combination Hex Key Set
- ARROW T50 corded staple gun
- Ryobi 18V High Temp Glue Gun (cordless)
safety certification:
This tool requires a safety certification to use on your own. When you come in for the first time to use this tool, we will take a few minutes to talk with you about safety procedures and will demo proper use. After that, we’ll watch you use it the first few times on your own to make sure you’ve understood instructions and answer any follow-up questions.
Once you’ve got it down and we’re confident you can use the tool safely on your own, we will award you with a safety certification. A safety certification means that you can use this tool on your own without direct supervision.
learning links:
Electronics Tools
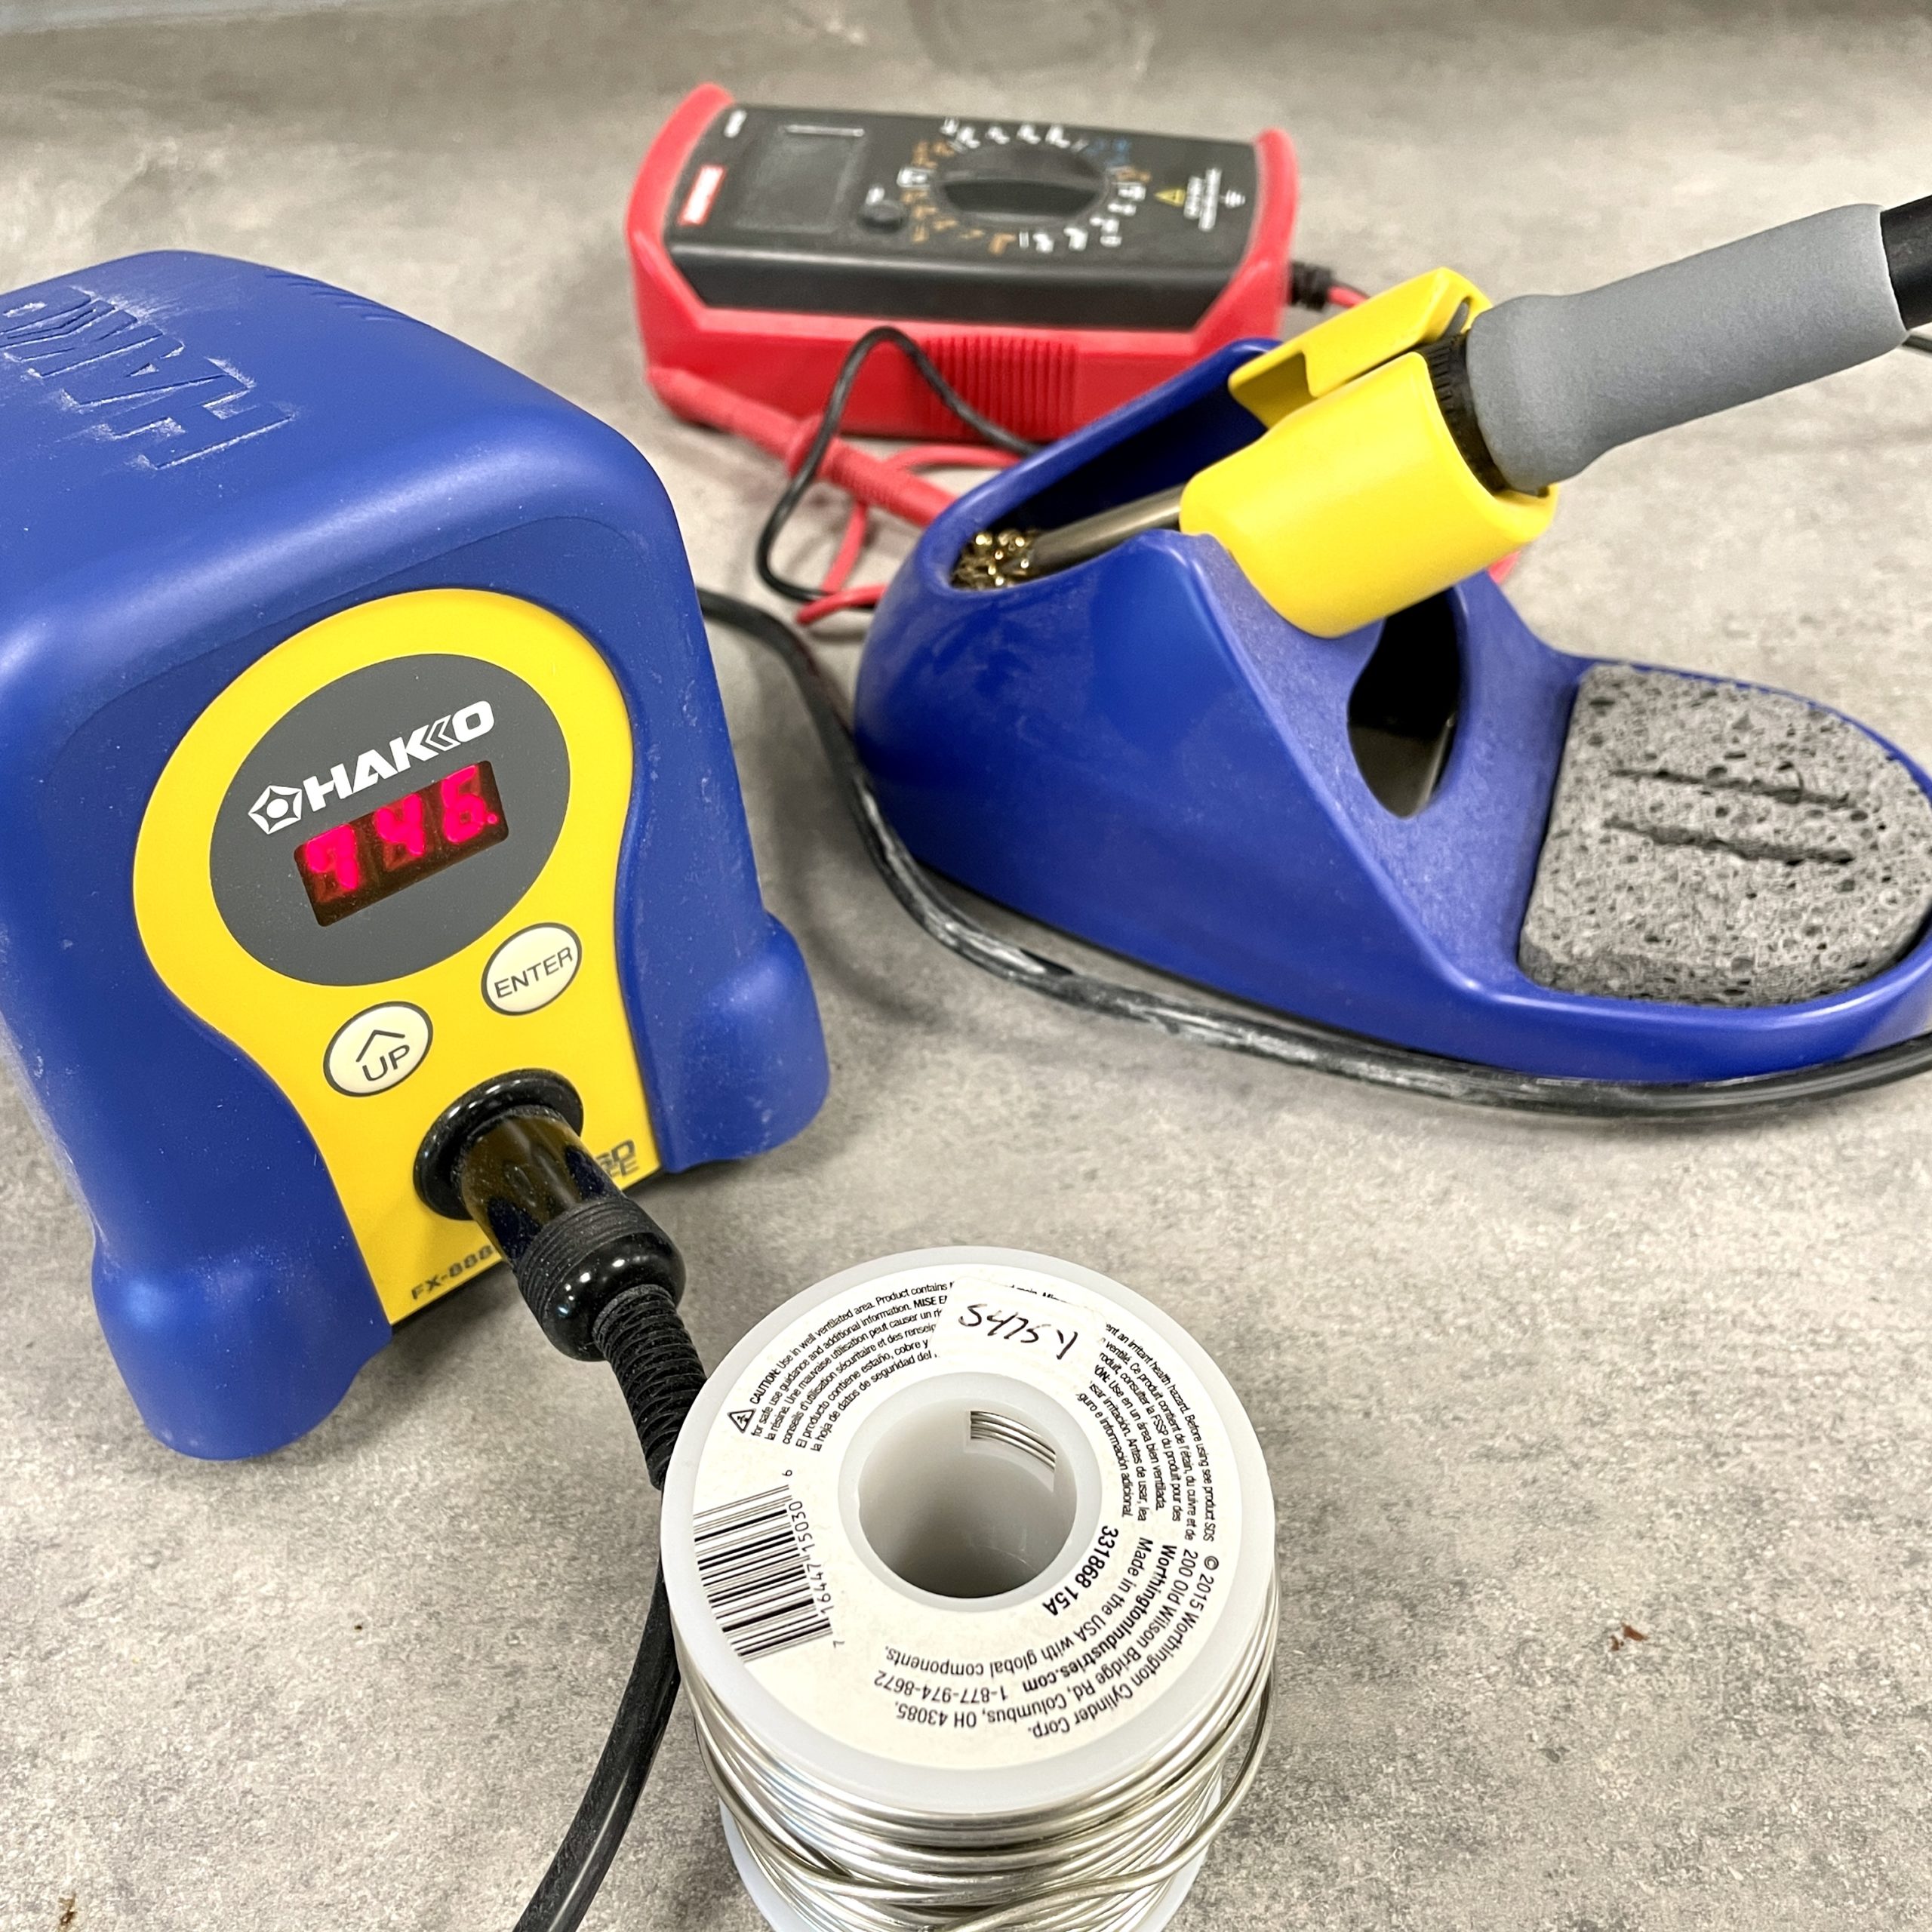
The LIFT Makerspace has a wide variety of electronics tools and components for student and teacher use. These tools require eye protection and heightened safety protocols. All makers must receive special training and earn their safety certification before they are able to use these tools on their own. These tools are NOT allowed to be taken out and used outside of the Makerspace. Click the Tool Inventory link below to see the full list of tools that are available to use.
tool inventory:
- HAKKO FX-888D Soldering Station
- PANAVISE Work Holding Vise
- Porter Cable PC1500HG Heat Gun
- Amprobe AM-420 Multimeter
- wire strippers
- Precision screwdriver set (6 pieces)
- Fine tip curved tweezers – ESD safe
- Arduino boards
safety certification:
This tool requires a safety certification to use on your own. When you come in for the first time to use this tool, we will take a few minutes to talk with you about safety procedures and will demo proper use. After that, we’ll watch you use it the first few times on your own to make sure you’ve understood instructions and answer any follow-up questions.
Once you’ve got it down and we’re confident you can use the tool safely on your own, we will award you with a safety certification. A safety certification means that you can use this tool on your own without direct supervision.
learning links:

SOFTWARE
Adobe Illustrator (professional 2D vector design software)
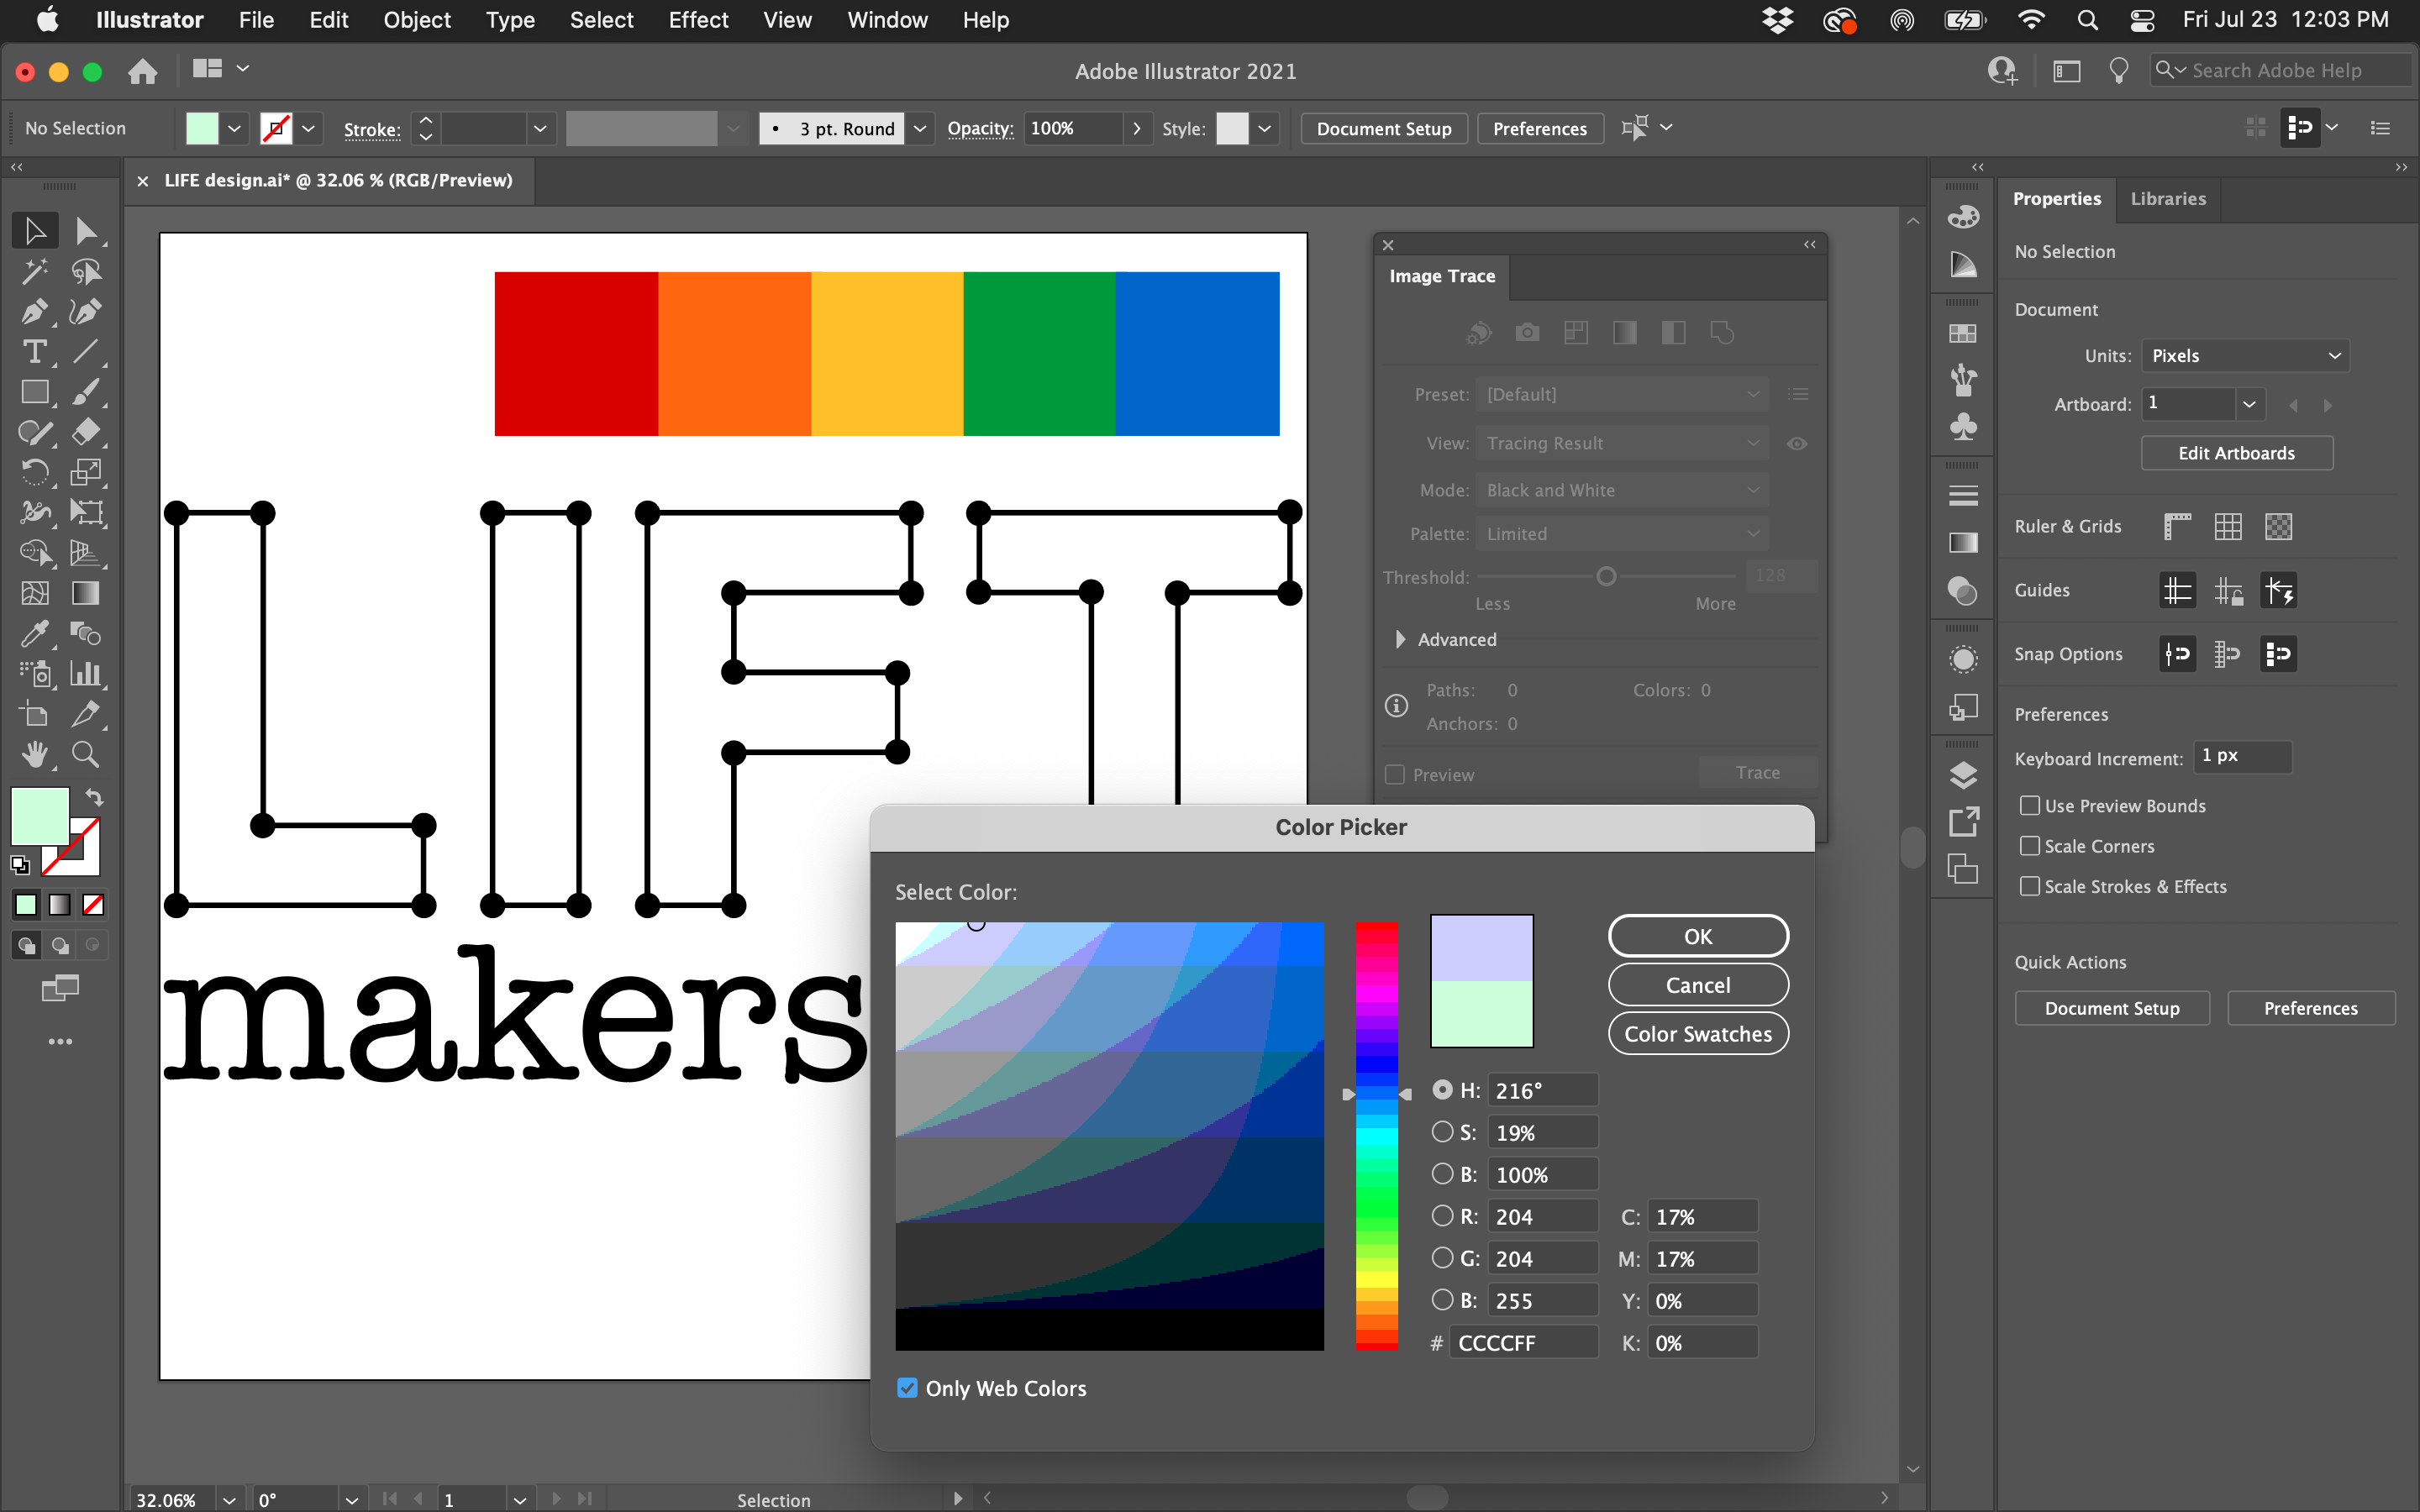
Adobe Illustrator is the industry standard for creating 2D vector graphics. Illustrator gets our top recommendation for designing for the CNC laser, CNC router and CNC vinyl cutting tools. All vector files created in Illustrator can be sent directly to a CNC tool for cutting. Illustrator is already installed on all of the computers in the makerspace and many other computers at the LIFT. If you want to download and install Illustrator on your own personal computer, you will need to purchase a licence.
more information:

Vectr.com (free online 2D vector design software)
If you need a FREE option for creating 2D vector graphics, VECTR.com is a good choice. VECTR.com has many of the same graphics tools available in Illustrator, enough to design simple jobs for our CNC tools. When designing in VECTR.com, files need to be exported/downloaded as .SVG files before being sent to a CNC tool for cutting. Creating a free account is quick and easy, and allows you to save all your projects in the could for safe keeping.
more information:

OnShape (free online 3D modelling software)
OnShape.com is quickly becoming the industry standard for cloud-based 3D modeling. Learning to design 3D parts in OnShape takes some time, but you have total control of every aspect of your project. You don’t have to download or install anything to use OnShape, so you can get to work right away. And, since your projects are stored in the cloud, you don’t ever have to worry about losing your work. You can export your OnShape models as .STL files for printing on our Ultimaker 3S printers.
more information:
start working:
start learning:

Tinkercad (free online 3D modelling software)
If you need to design a 3D part but don’t have the time to learn OnShape, Tinkercad.com is a great alternative. Designing in Tinkercad is simple, just drag-and-drop objects and combine to make what you want. Tinkercad is perfect for quickly prototyping 3D models. Tinkercad is limited to the level of detail and control, but for most projects, its a great option for newbies. You can export/download your Tinkercad models as .STL files for printing on our Ultimaker 3S printers.
more information:
start working:
start learning:
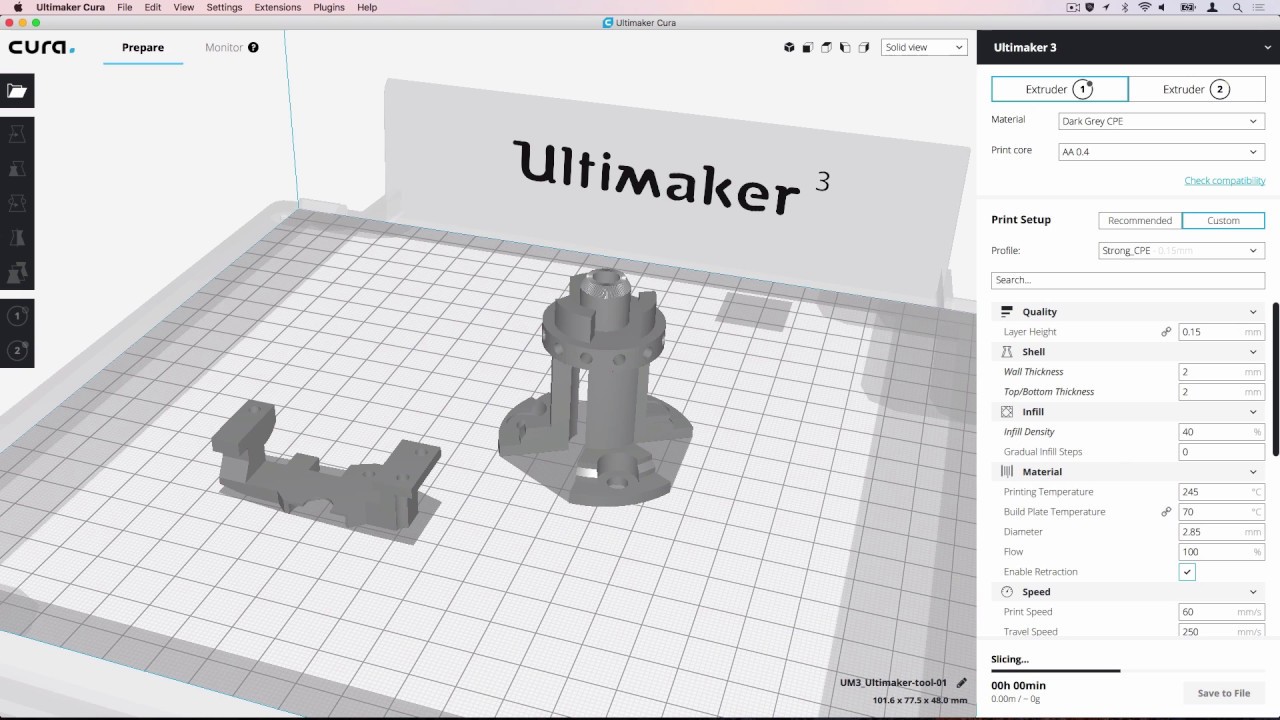
Cura (3D Model Slicing Software)
We use Ultimaker Cura to prepare 3D models for printing. 3D files have to be “sliced” and converted to GCODE so that our Ultimaker 3S printers can print them. The GCODE also contains print settings for our specific printers. Cura will give you an estimate of print time based on these settings, so you’ll know how long it will take prior to starting the job. Using Cura is usually the last step, right before hitting the “start” button on the printer. We can help you with Cura when you come to start a print job.
more information:
start working:
start learning:

Tinkercad Circuits (free Arduino simulations)
So you’re ready to start building circuits with an Arduino microcontroller? The best place to prototype and test your ideas is Tinkercad Circuits. Even before you break out the jumper wires, 9-volt batteries or LEDs, you can use Tinkercad to drag-and-drop electronic components in a virtual environment. Tinkercad let’s you build quickly and run simulations, checking your code along the way. When you finish a project in Tinkercad Circuits, you can use that as instructions to construct your physical circuit.
more information:
start working:
start learning:
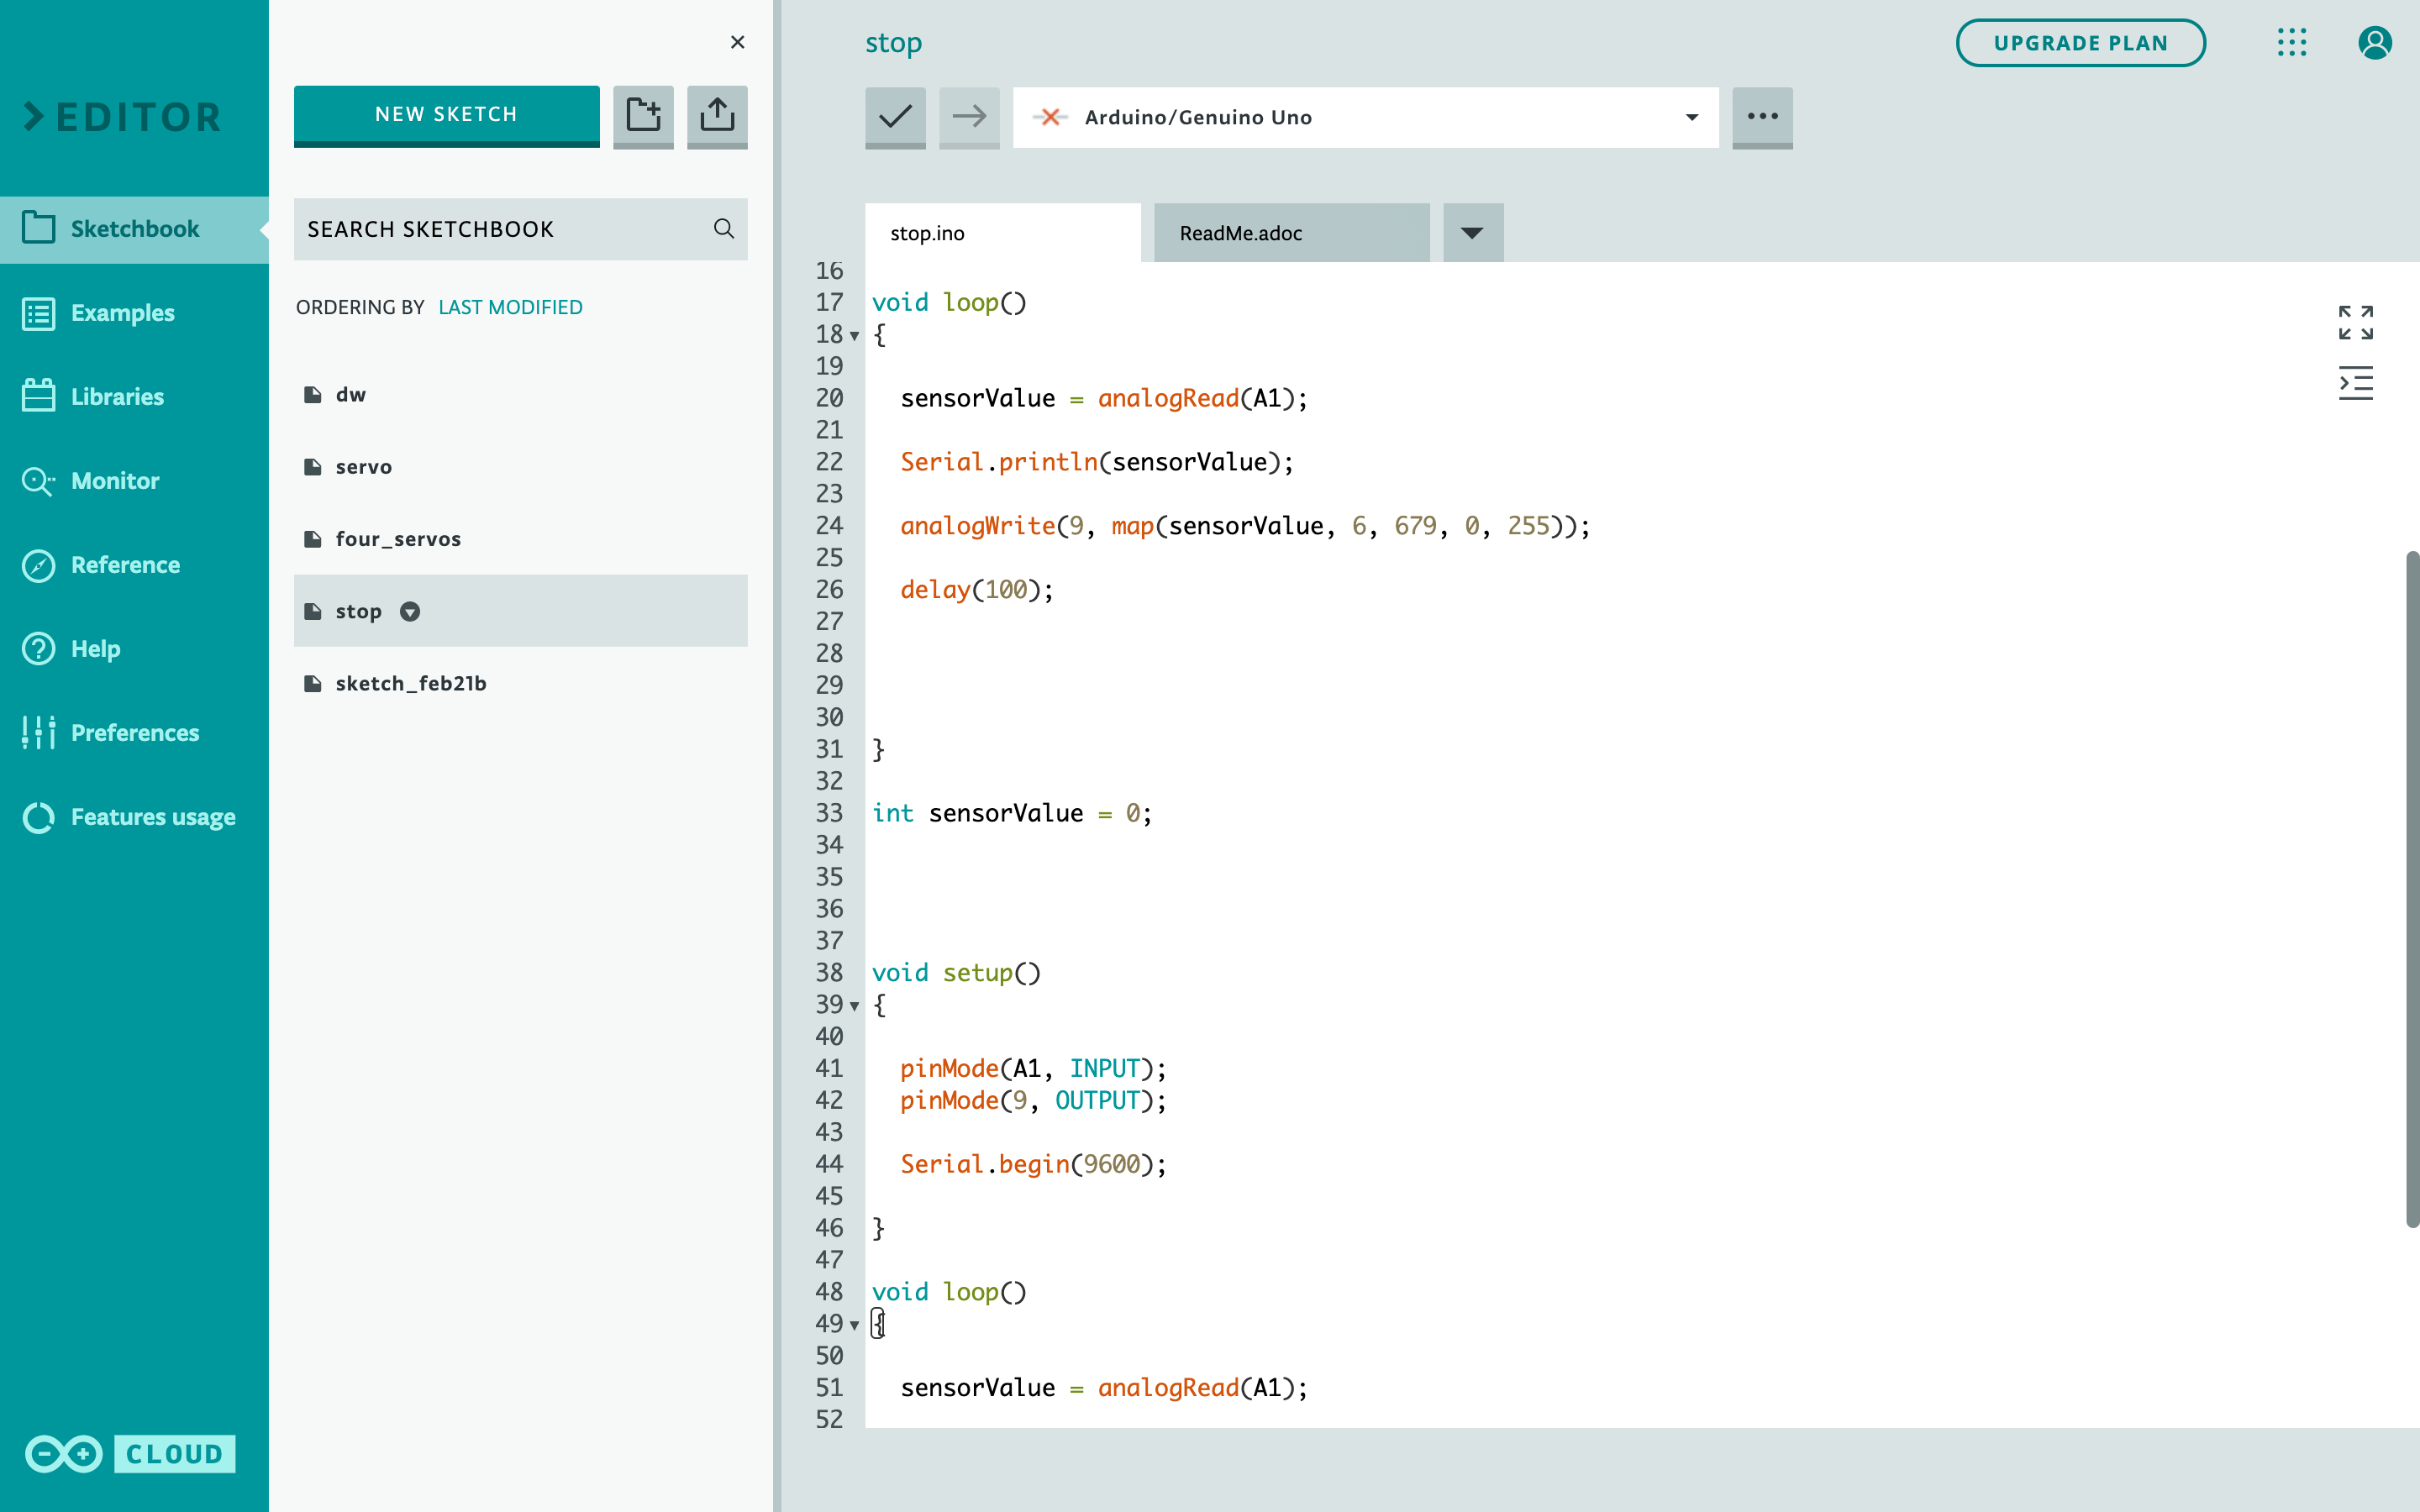
Arduino Web Editor (free Arduino programming)
Once you’ve built your circuit in Tinkercad and written and tested your code, you need a way to get the code to a physical Arduino board controlling a set of physical components. The Arduino Web Editor is the tool to get your code from the computer to the Arduino board. Using a USB cable, you’ll download your code from the web editor to the board. Of course, all of your projects are stored in the cloud, so you don’t ever have to worry about losing your code.
more information:
start working:
start learning:

